User Guide
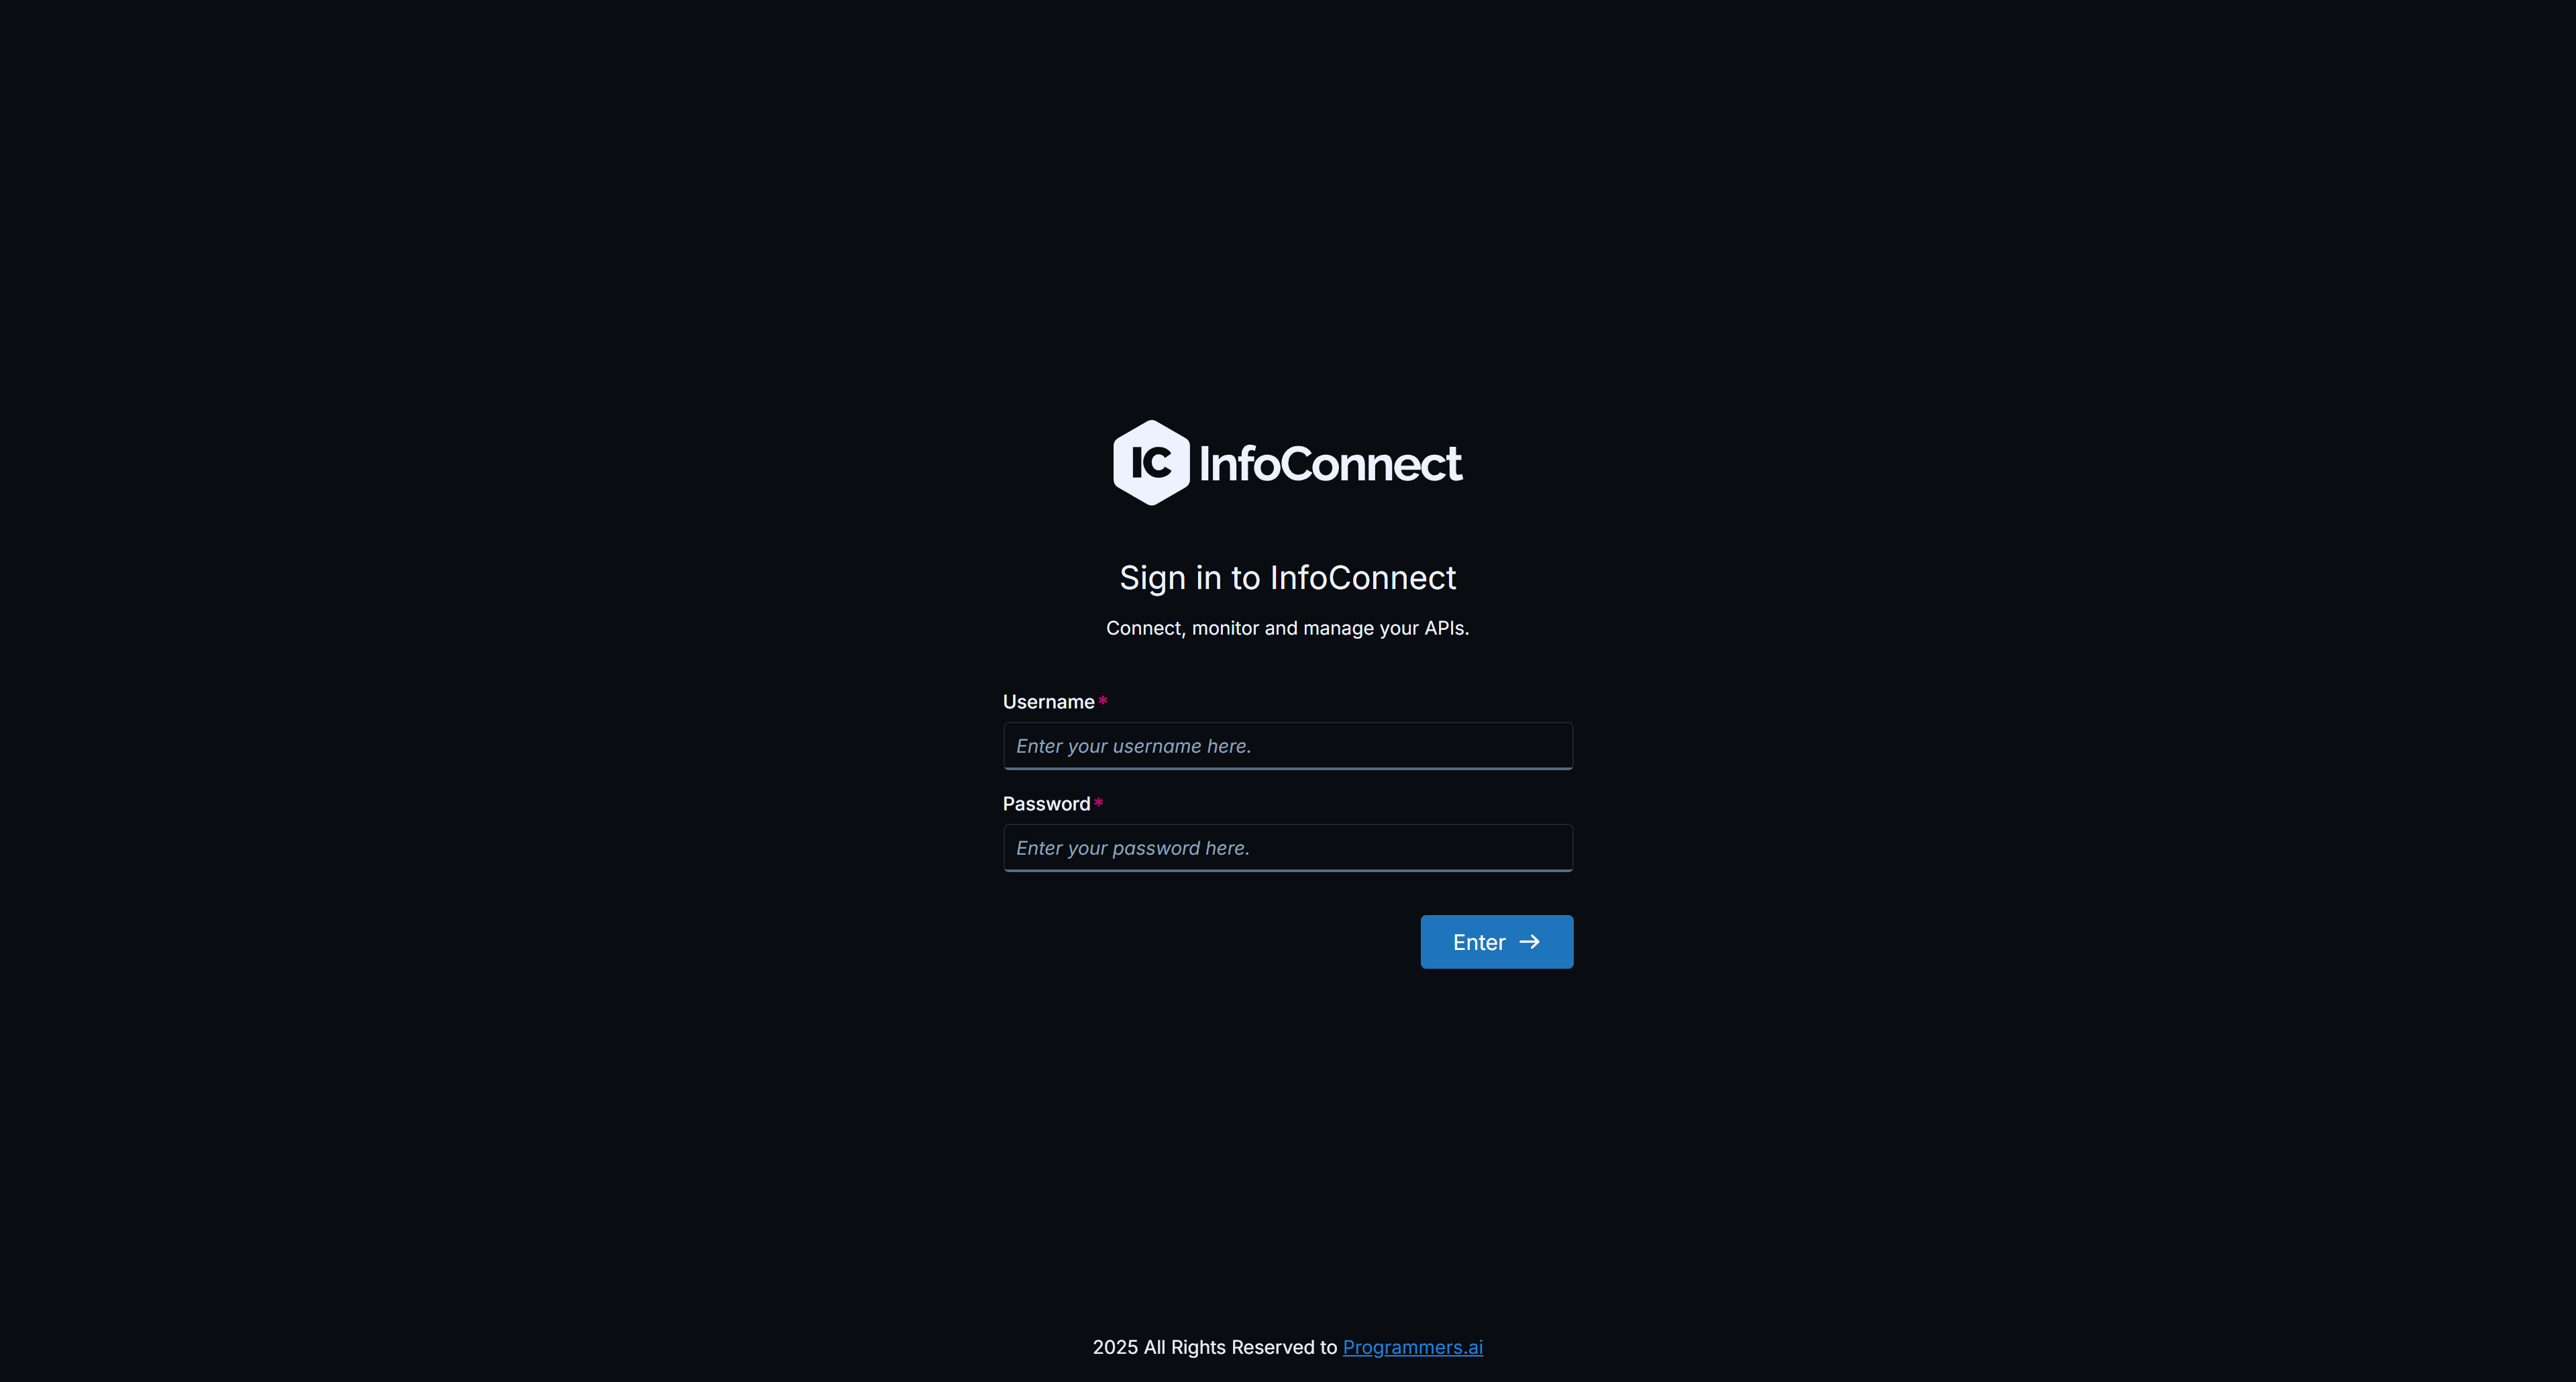
Accessing the InfoConnect Hub UI
- Before you begin, you will need the web address (URL) for your InfoConnect Hub instance. When running in the bundled all-in-one configuration, by default it starts at http://localhost:8081/infoconnect
- You will be presented with a sign-in screen. For a default installation, the credentials are:
- Admin User:
Admin/Password
- Admin User:
Security Note: These default credentials should be changed by your system administrator.
A Quick Tour of the UI
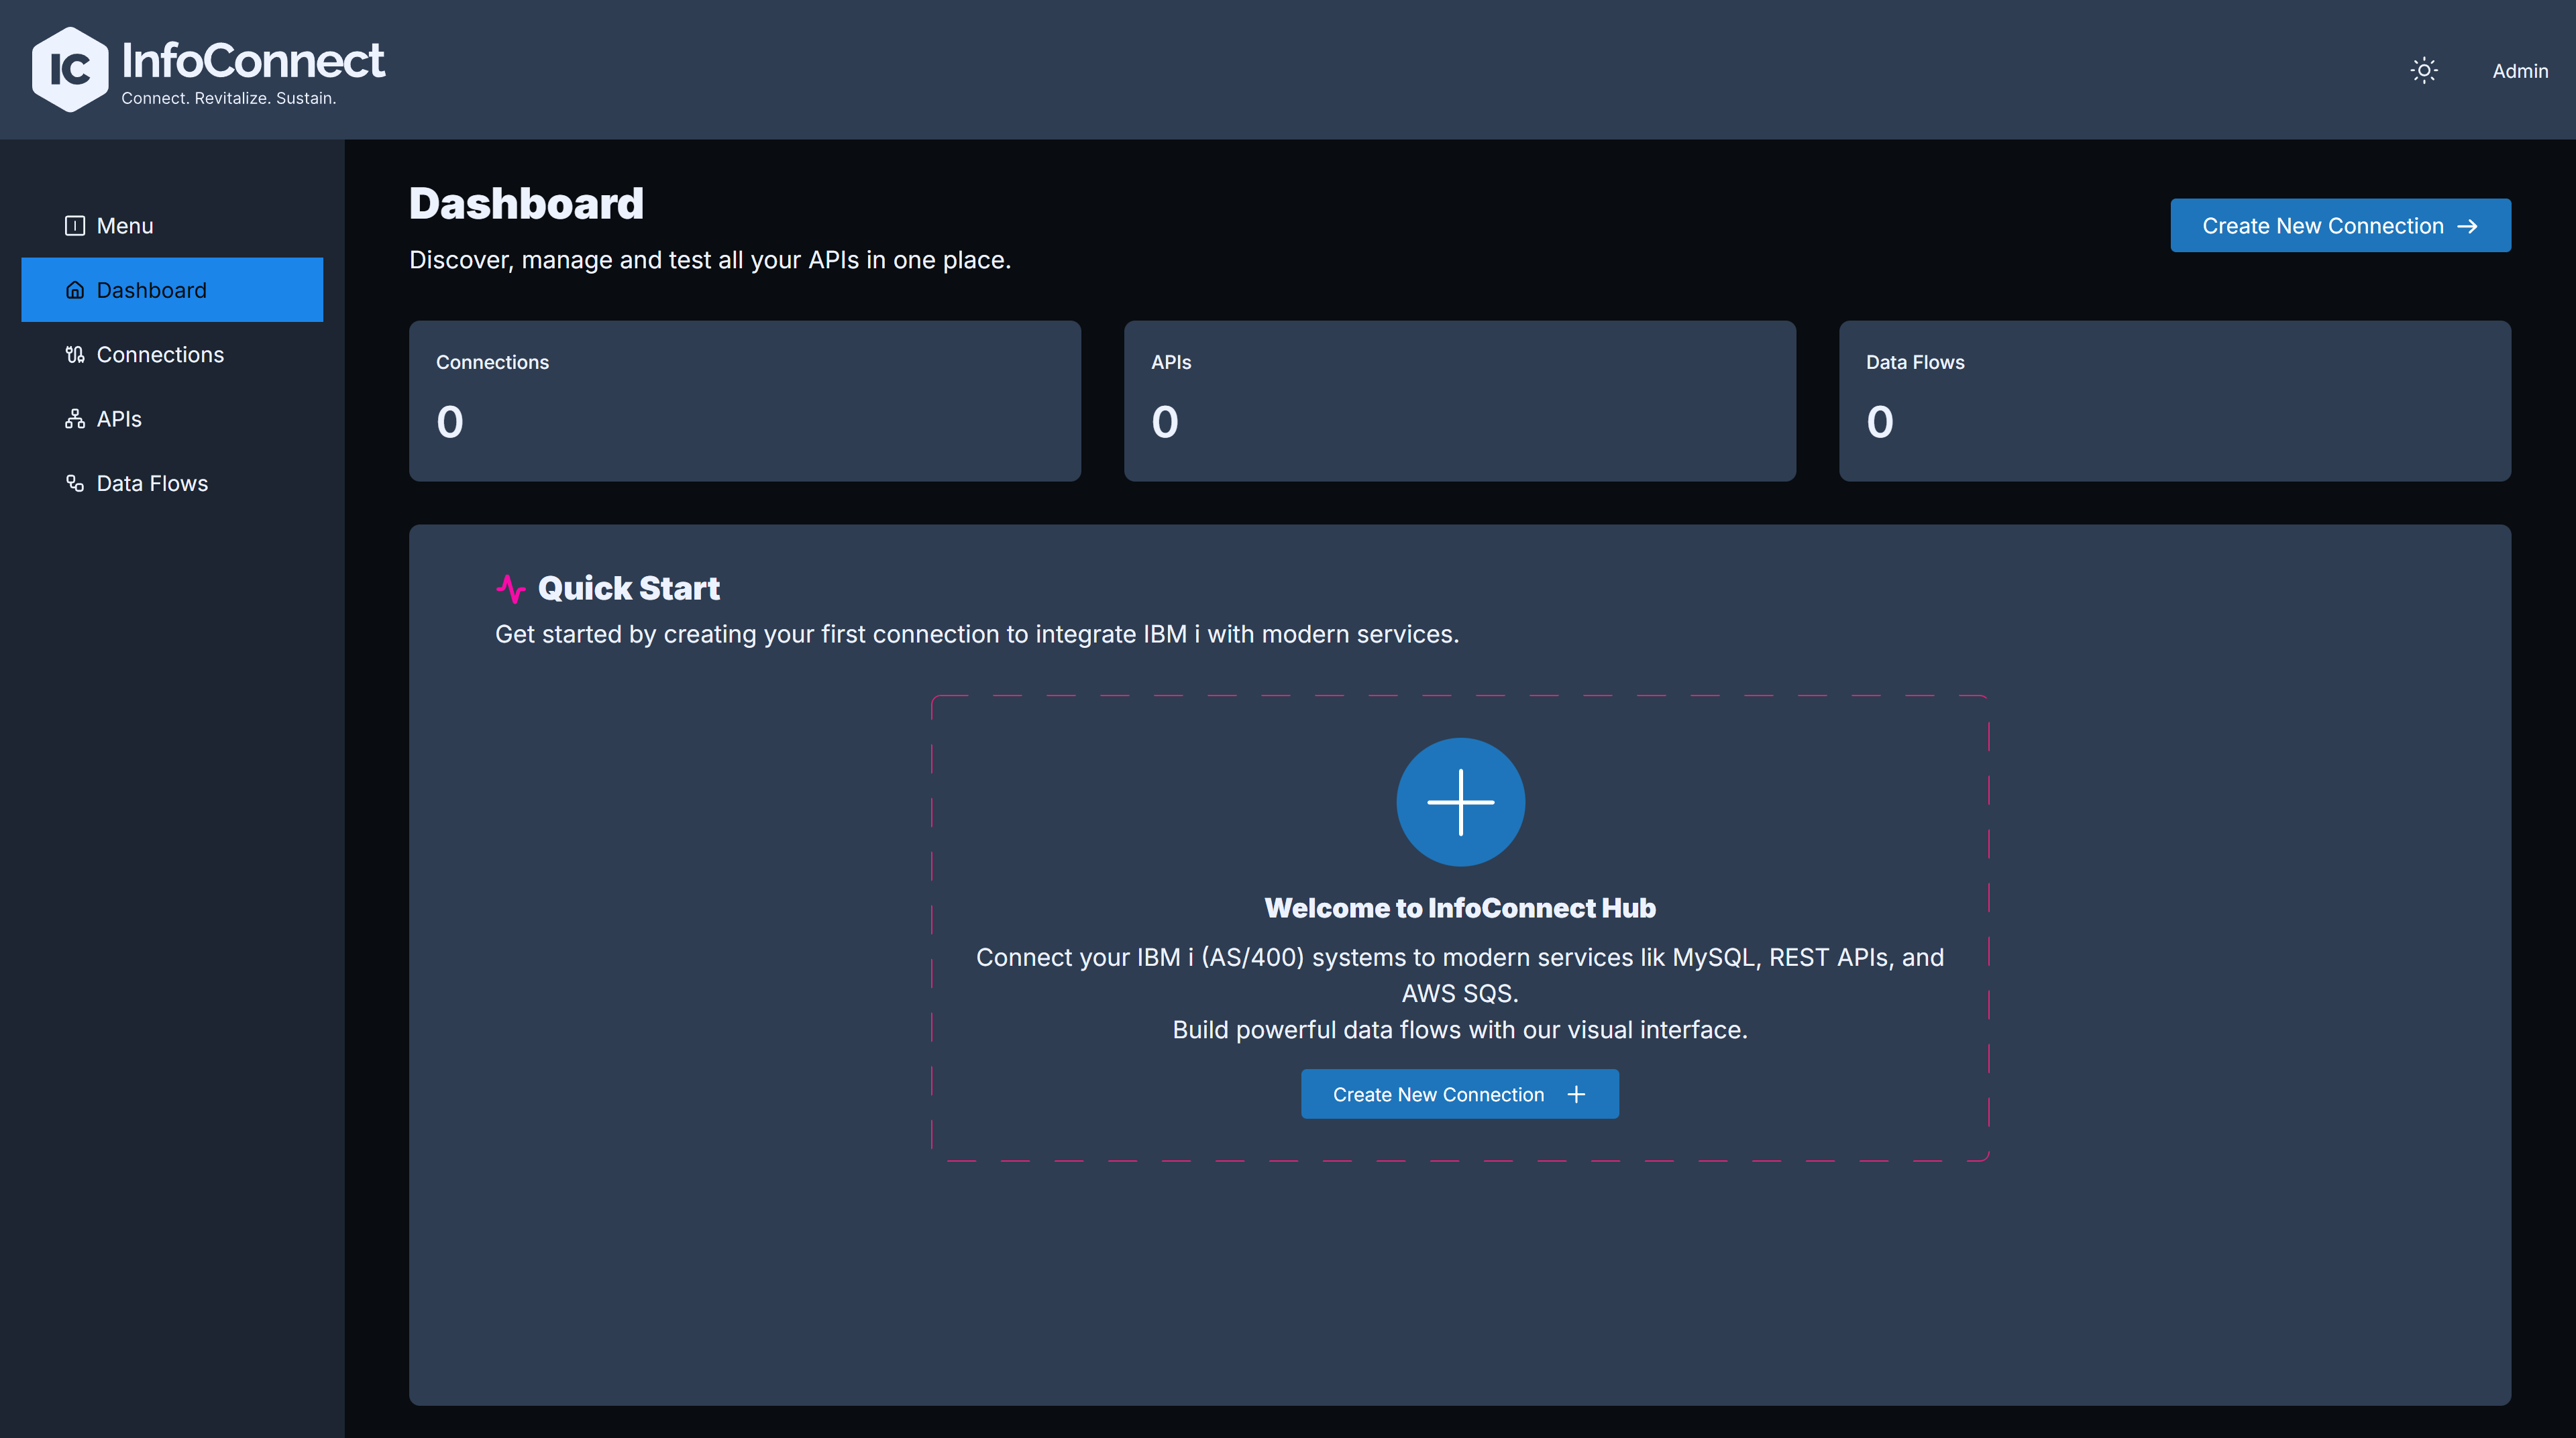
Once logged in, you will see the main dashboard. The navigation bar on the left provides access to all core sections of the Hub:
- Dashboard: Displays summary counts of your Connections, APIs, and Data Flows
- Connections: The foundation of all integrations. Create and configure connections to your IBM i systems here before doing anything else
- APIs: Build and manage REST APIs that expose your IBM i programs or green-screen applications
- Data Flows: Create and manage real-time data pipelines between your IBM i and external systems
The Core Workflow
- First, create a Connection. Go to the Connections page and define the link to your IBM i system
- Then, create an API or Data Flow. Go to the APIs or Data Flows page and build a new integration that uses the connection you just created
- Finally, test and monitor. Use the UI to execute your new API or check the status of your data flow to ensure it's working as expected
If at any point you get stuck, contact us at infoconnectsupport@programmers.ai or submit your request online at Contact us; we will be happy to help!
Connections
A Connection is a configured link to an IBM i system. It stores the endpoint, type, license details, and other properties needed to communicate with the system.
There are two types of connections you can create:
- Native Connection: For connecting directly to IBM i resources like programs and databases. This is the preferred method when you have direct access to the system's business logic
- Screen Automation Connection: For automating "green-screen" terminal interactions. Use this when you can only interact with an application through its 5250 terminal interfaces
To create a new connection:
- From the navigation bar, click on Connections
- Click the Create New Connection button
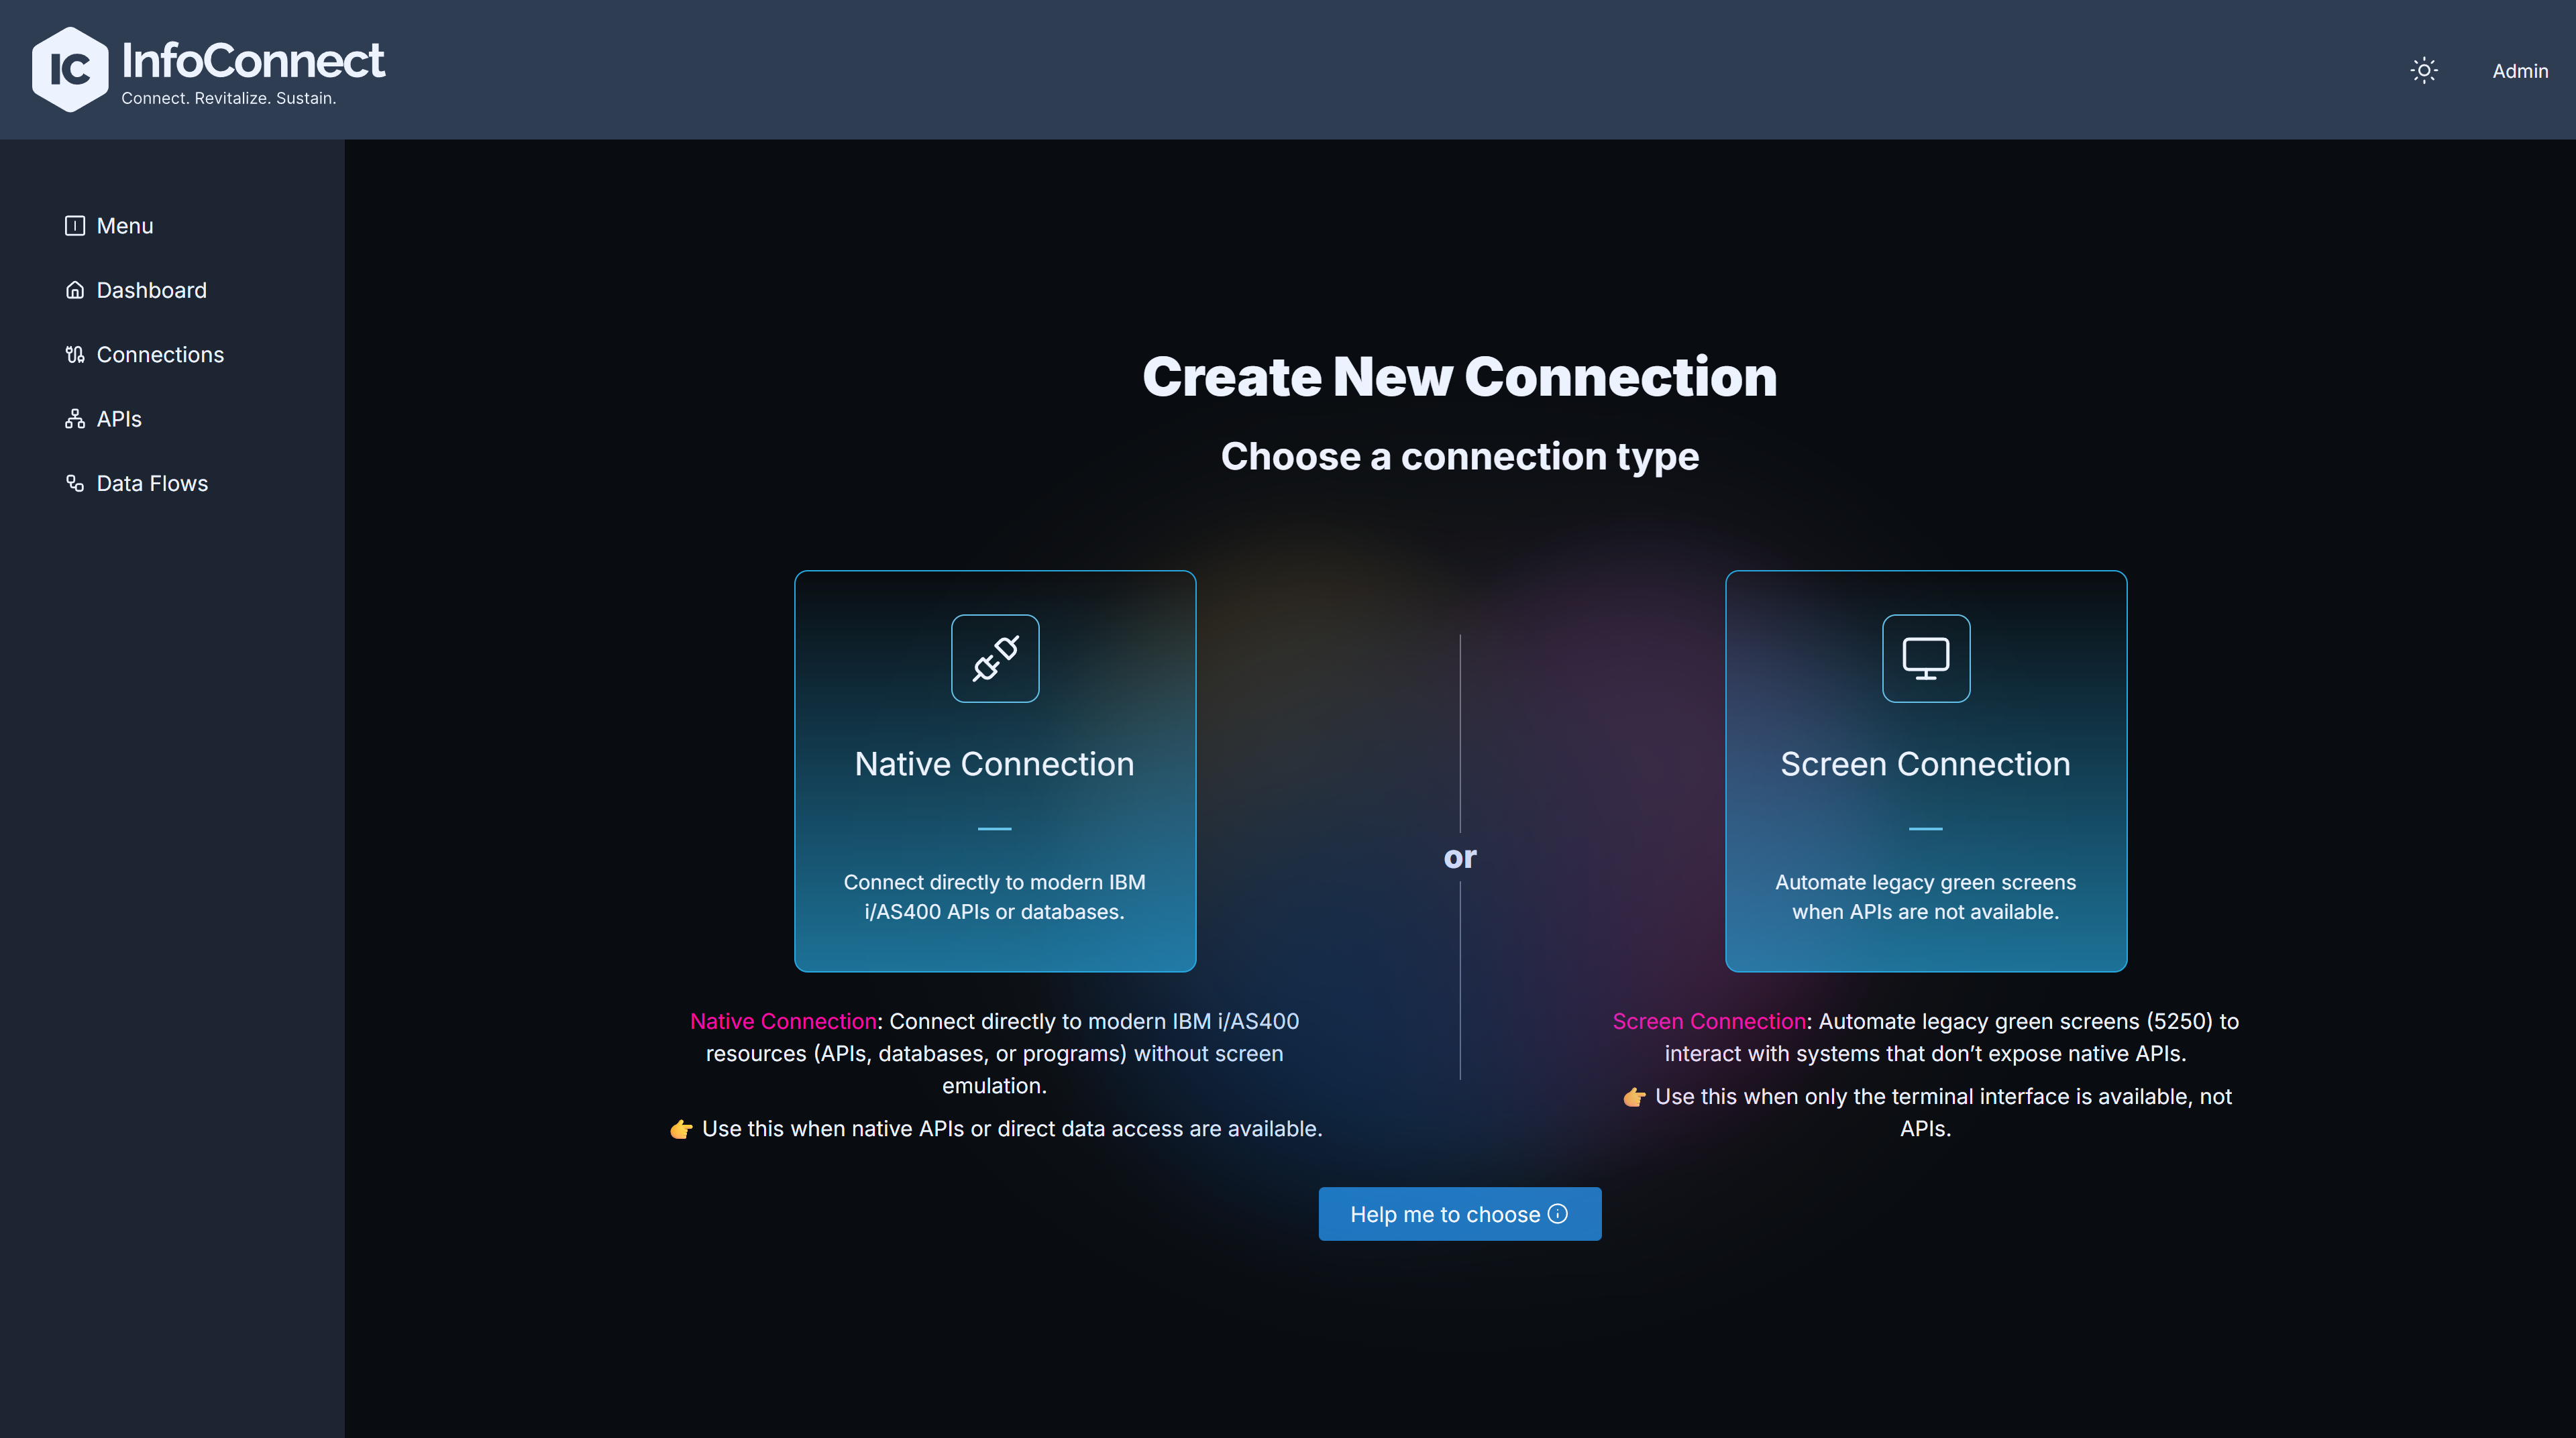
- You will be prompted to choose between a Native Connection and a Screen Automation Connection
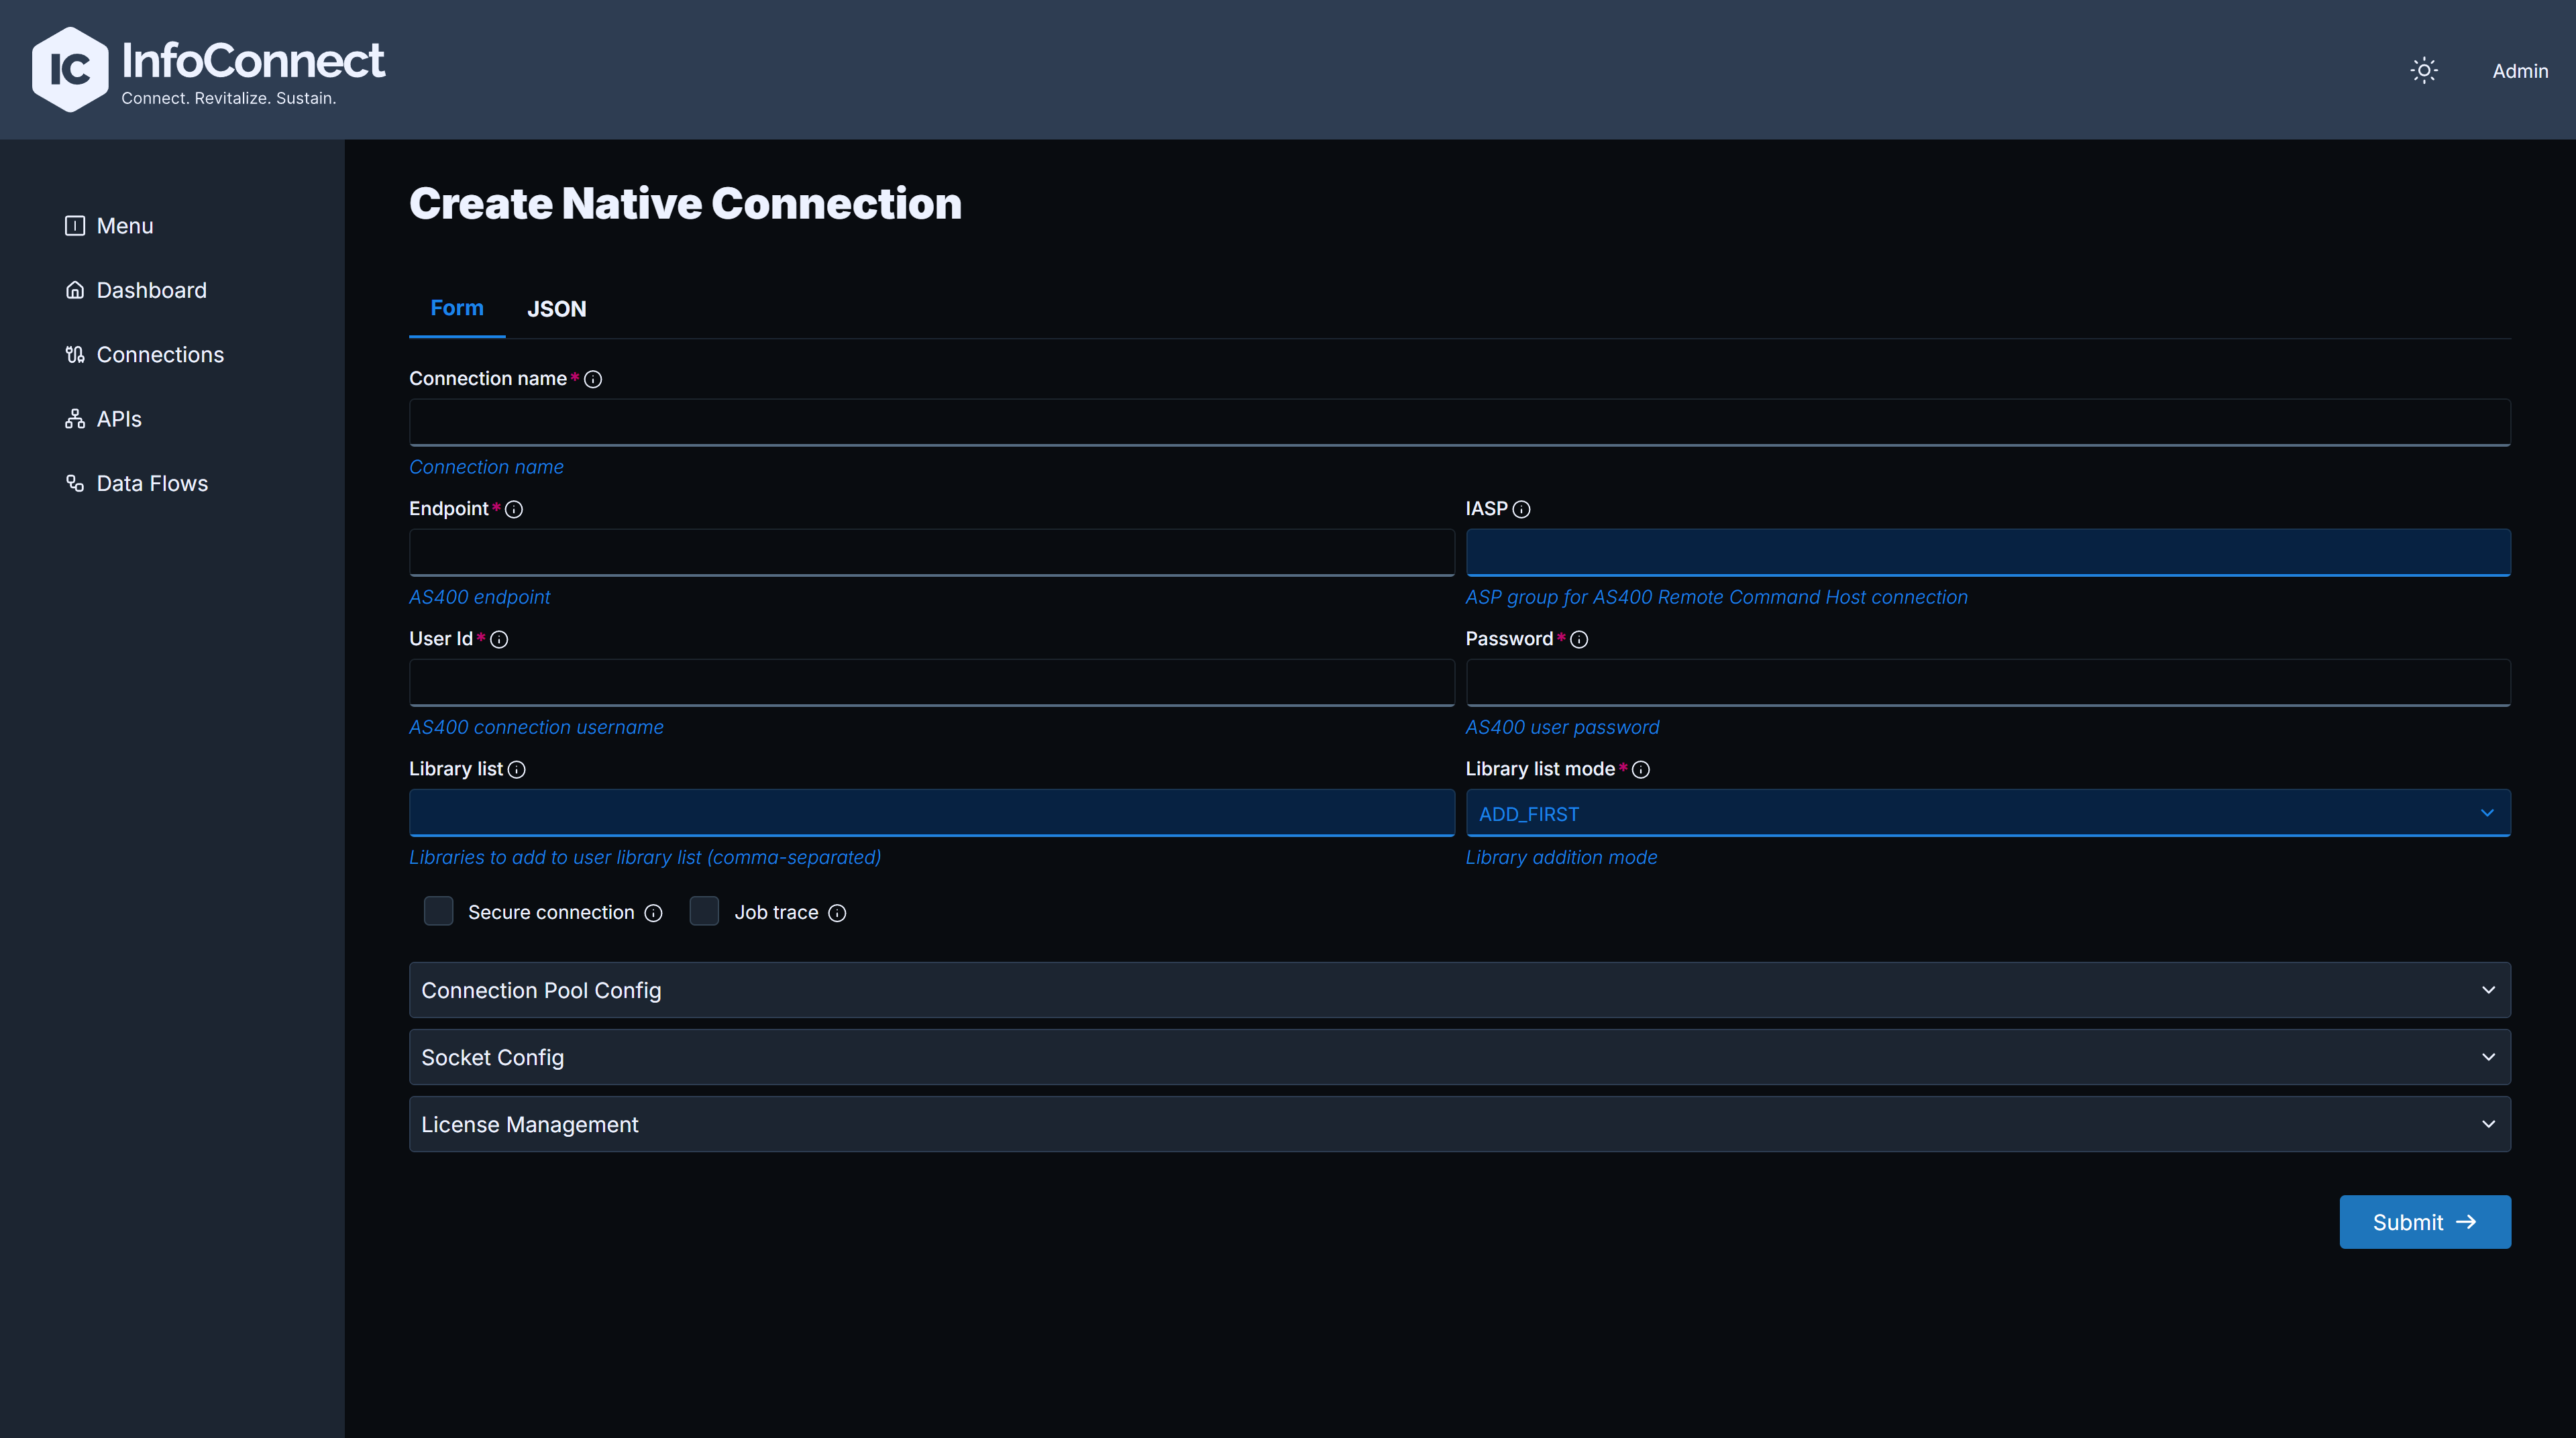
Native Connection Form
This form contains several sections organized into accordions.
- Main Configuration: Connection Name, Endpoint/Host, User ID & Password (password encrypted upon submission)
- Connection Pool Config: Fine-tune the connection performance by configuring how many connections are kept open and for how long. The default values are suitable for most use cases
- Socket Config: Advanced network settings for the connection
- TLS Config: If you enable Secure Connection, configure your TLS settings here by specifying the truststore file and its location.
- License Management: Configure the location of your license file. The Hub supports loading it from various sources like S3, FTP, or a local file path
Tip: You can switch to the JSON tab at the top of the form to view, edit, or paste the entire connection configuration as a JSON object.
Sample JSON configuration for a Native Connection
{
  "connectionName": "NATIVE",
  "endpoint": "my-IBMi-server-name",
  "userId": "MYUSERID",
  "password": "encrypted-password",
  "IASP": "",
  "libraryList": "CDCCOMD321,CDCDTAD321,HUBDEMOS",
  "jobTrace": false,
  "secureConnection": false,

  "connectionPoolConfig": {
    "operationType": 0,
    "preStartCountDataQueue": 0,
    "preStartCountCommand": 5,
    "maxConnections": 10,
    "maxInactivity": 3600000,
    "maxLifeTime": 86400000,
    "maxUseCount": -1,
    "maxUseTime": -1,
    "cleanupInterval": 300000,
    "pretestConnections": false,
    "runMaintenance": true,
    "threadUsed": true,
    "CCSID": 0
  },

  "socketConfig": {
    "keepAlive": true,
    "loginTimeout": 300000,
    "receiveBufferSize": 1000,
    "sendBufferSize": 1000,
    "soLinger": 0,
    "soTimeout": 300000,
    "tcpNoDelay": true
  },

  "transportConfig": {
    "licenseFileProtocol": "AZURE_STORAGE",
    "licenseFileName": "as400-license_new.lic",
    "truststoreFileProtocol": "AZURE_STORAGE",
    "AZURE_STORAGE": {
      "connectionString": "myAzureStorageConnectionString",
      "bucketName": "bucketName"
    }
  }
}
You can also create a native connection via Admin API instead of using the Web interface. See: API Reference
Screen Automation Connection Form
This form is for automating terminal sessions.
- Connection Name, Host, Port, User ID, Password: Standard connection details
- Username/Password X/Y Position: The row and column coordinates on the login screen where the username and password should be typed
- Initial Key String: A sequence of commands and keystrokes (e.g.,
[enter],[tab],myCommand) that will be executed automatically every time a new session starts. This is used to navigate to a specific starting screen after login - SSL Type: Set to
TLSfor a secure connection orNONEfor an insecure one
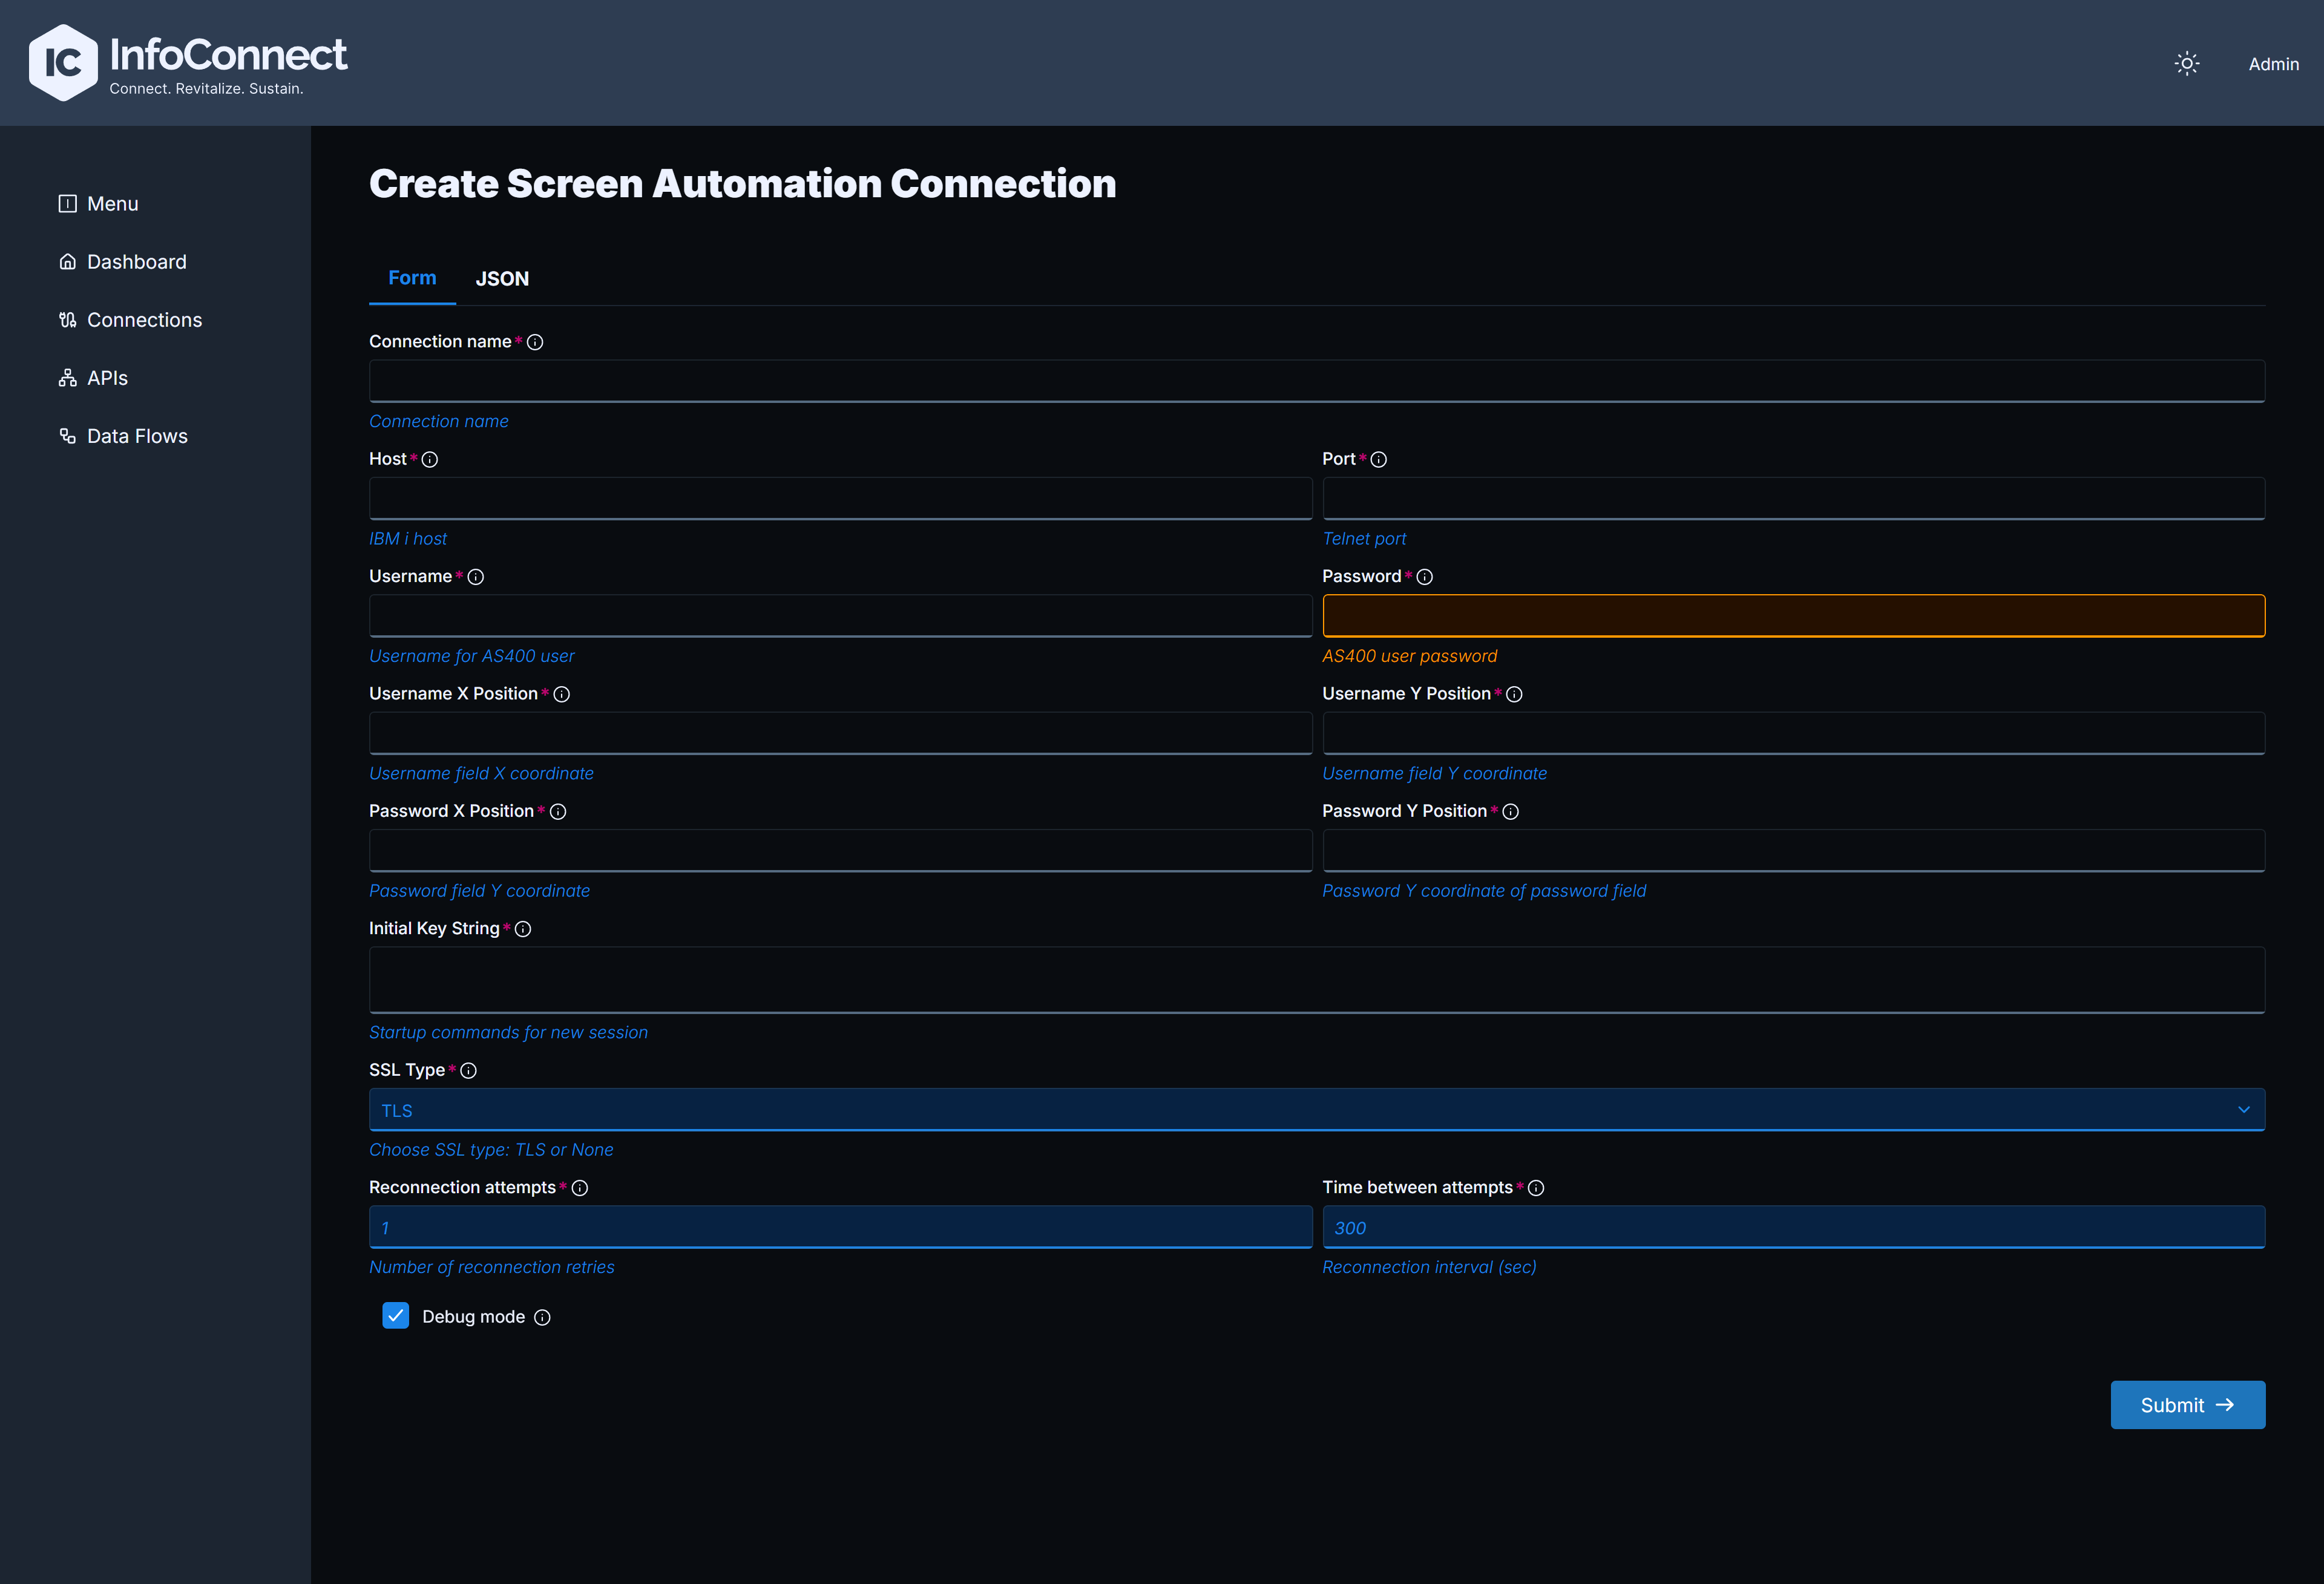
You can also create a screen connection via Admin API instead of using the Web interface. See: API Reference
APIs
Once you have a connection, you can expose IBM i functionality as a modern REST API.
- From the navigation bar, click on APIs
- Click the Create API button
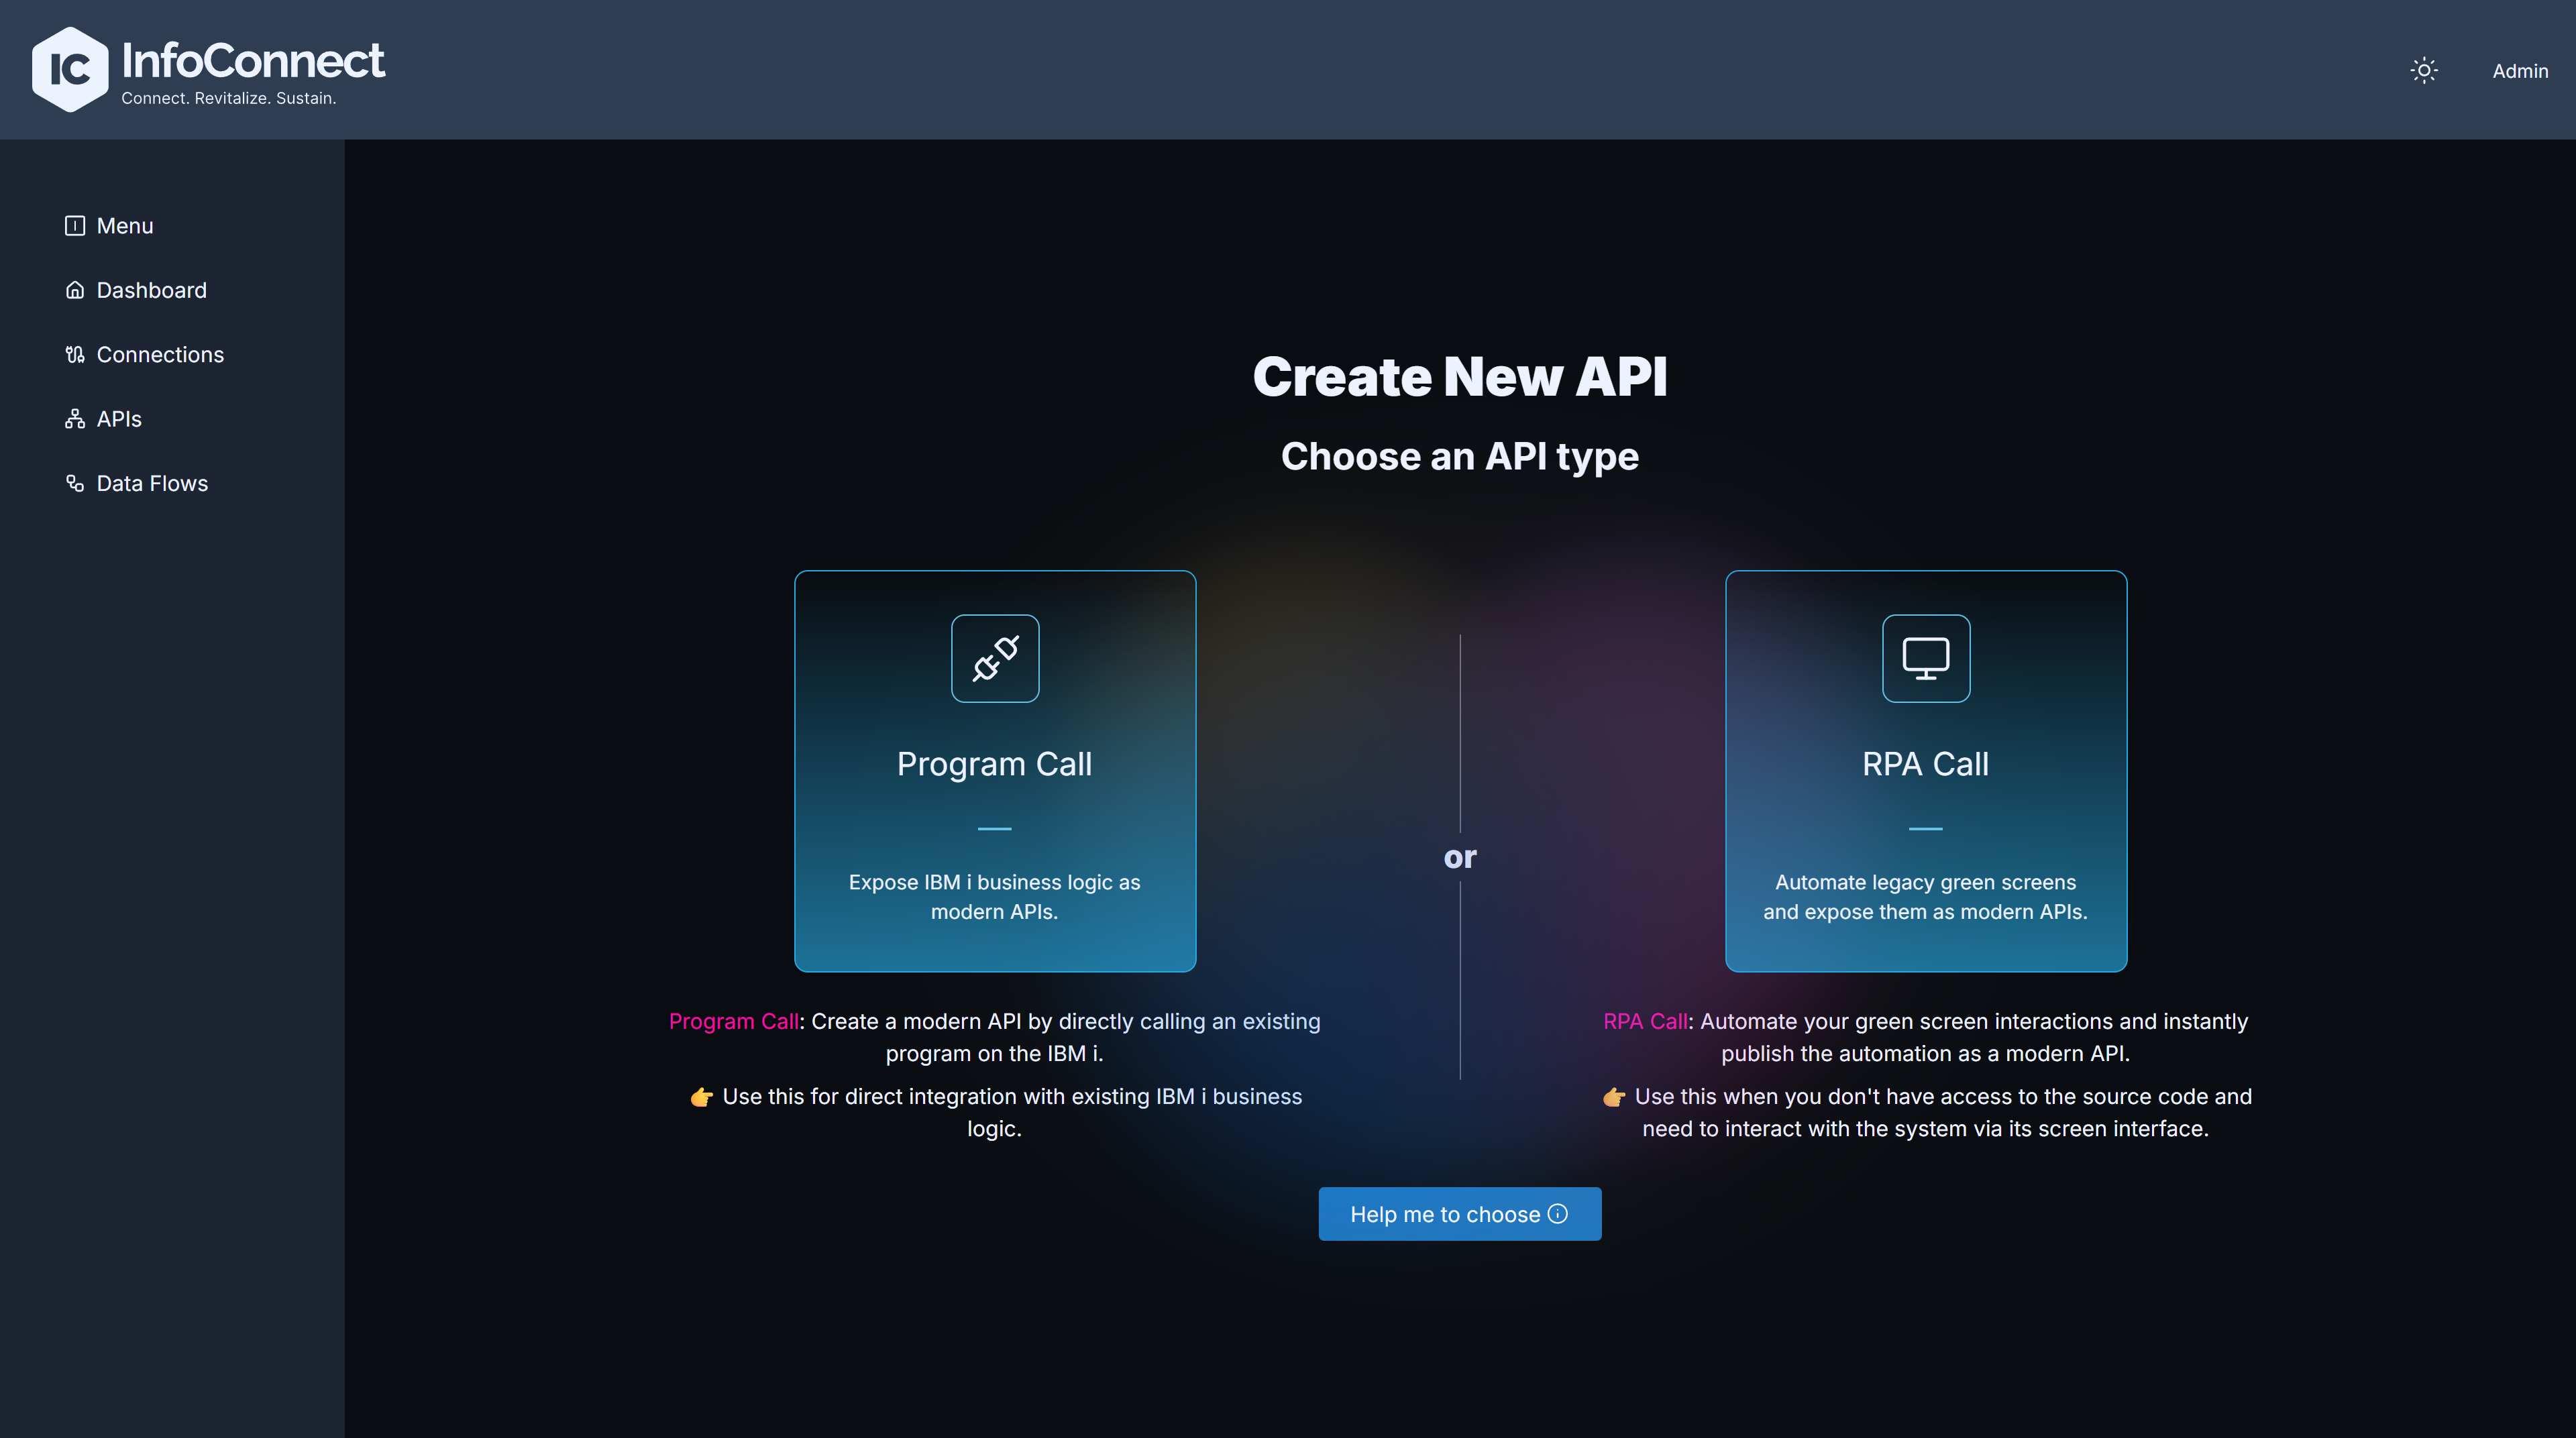
- Choose the type of API you want to create: Program Call or RPA Call
Program Call
This API type calls an existing program on your IBM i system. It requires a Native Connection.
- Main Configuration: Program Definition Name, Program Name & Library, URI, Connection Name (select the configured Native Connection to use)
- Program Call Parameters: Define each input/output parameter with Name, Data Type (e.g.,
STRING,PACKED,STRUCTURE), Length, and Usage (IN,OUT,INOUT). ForSTRUCTUREparameters, nested elements can be defined within the UI - Request/Response Transformer: (Optional) Apply transformations to the incoming request or outgoing response using JSonata scripts
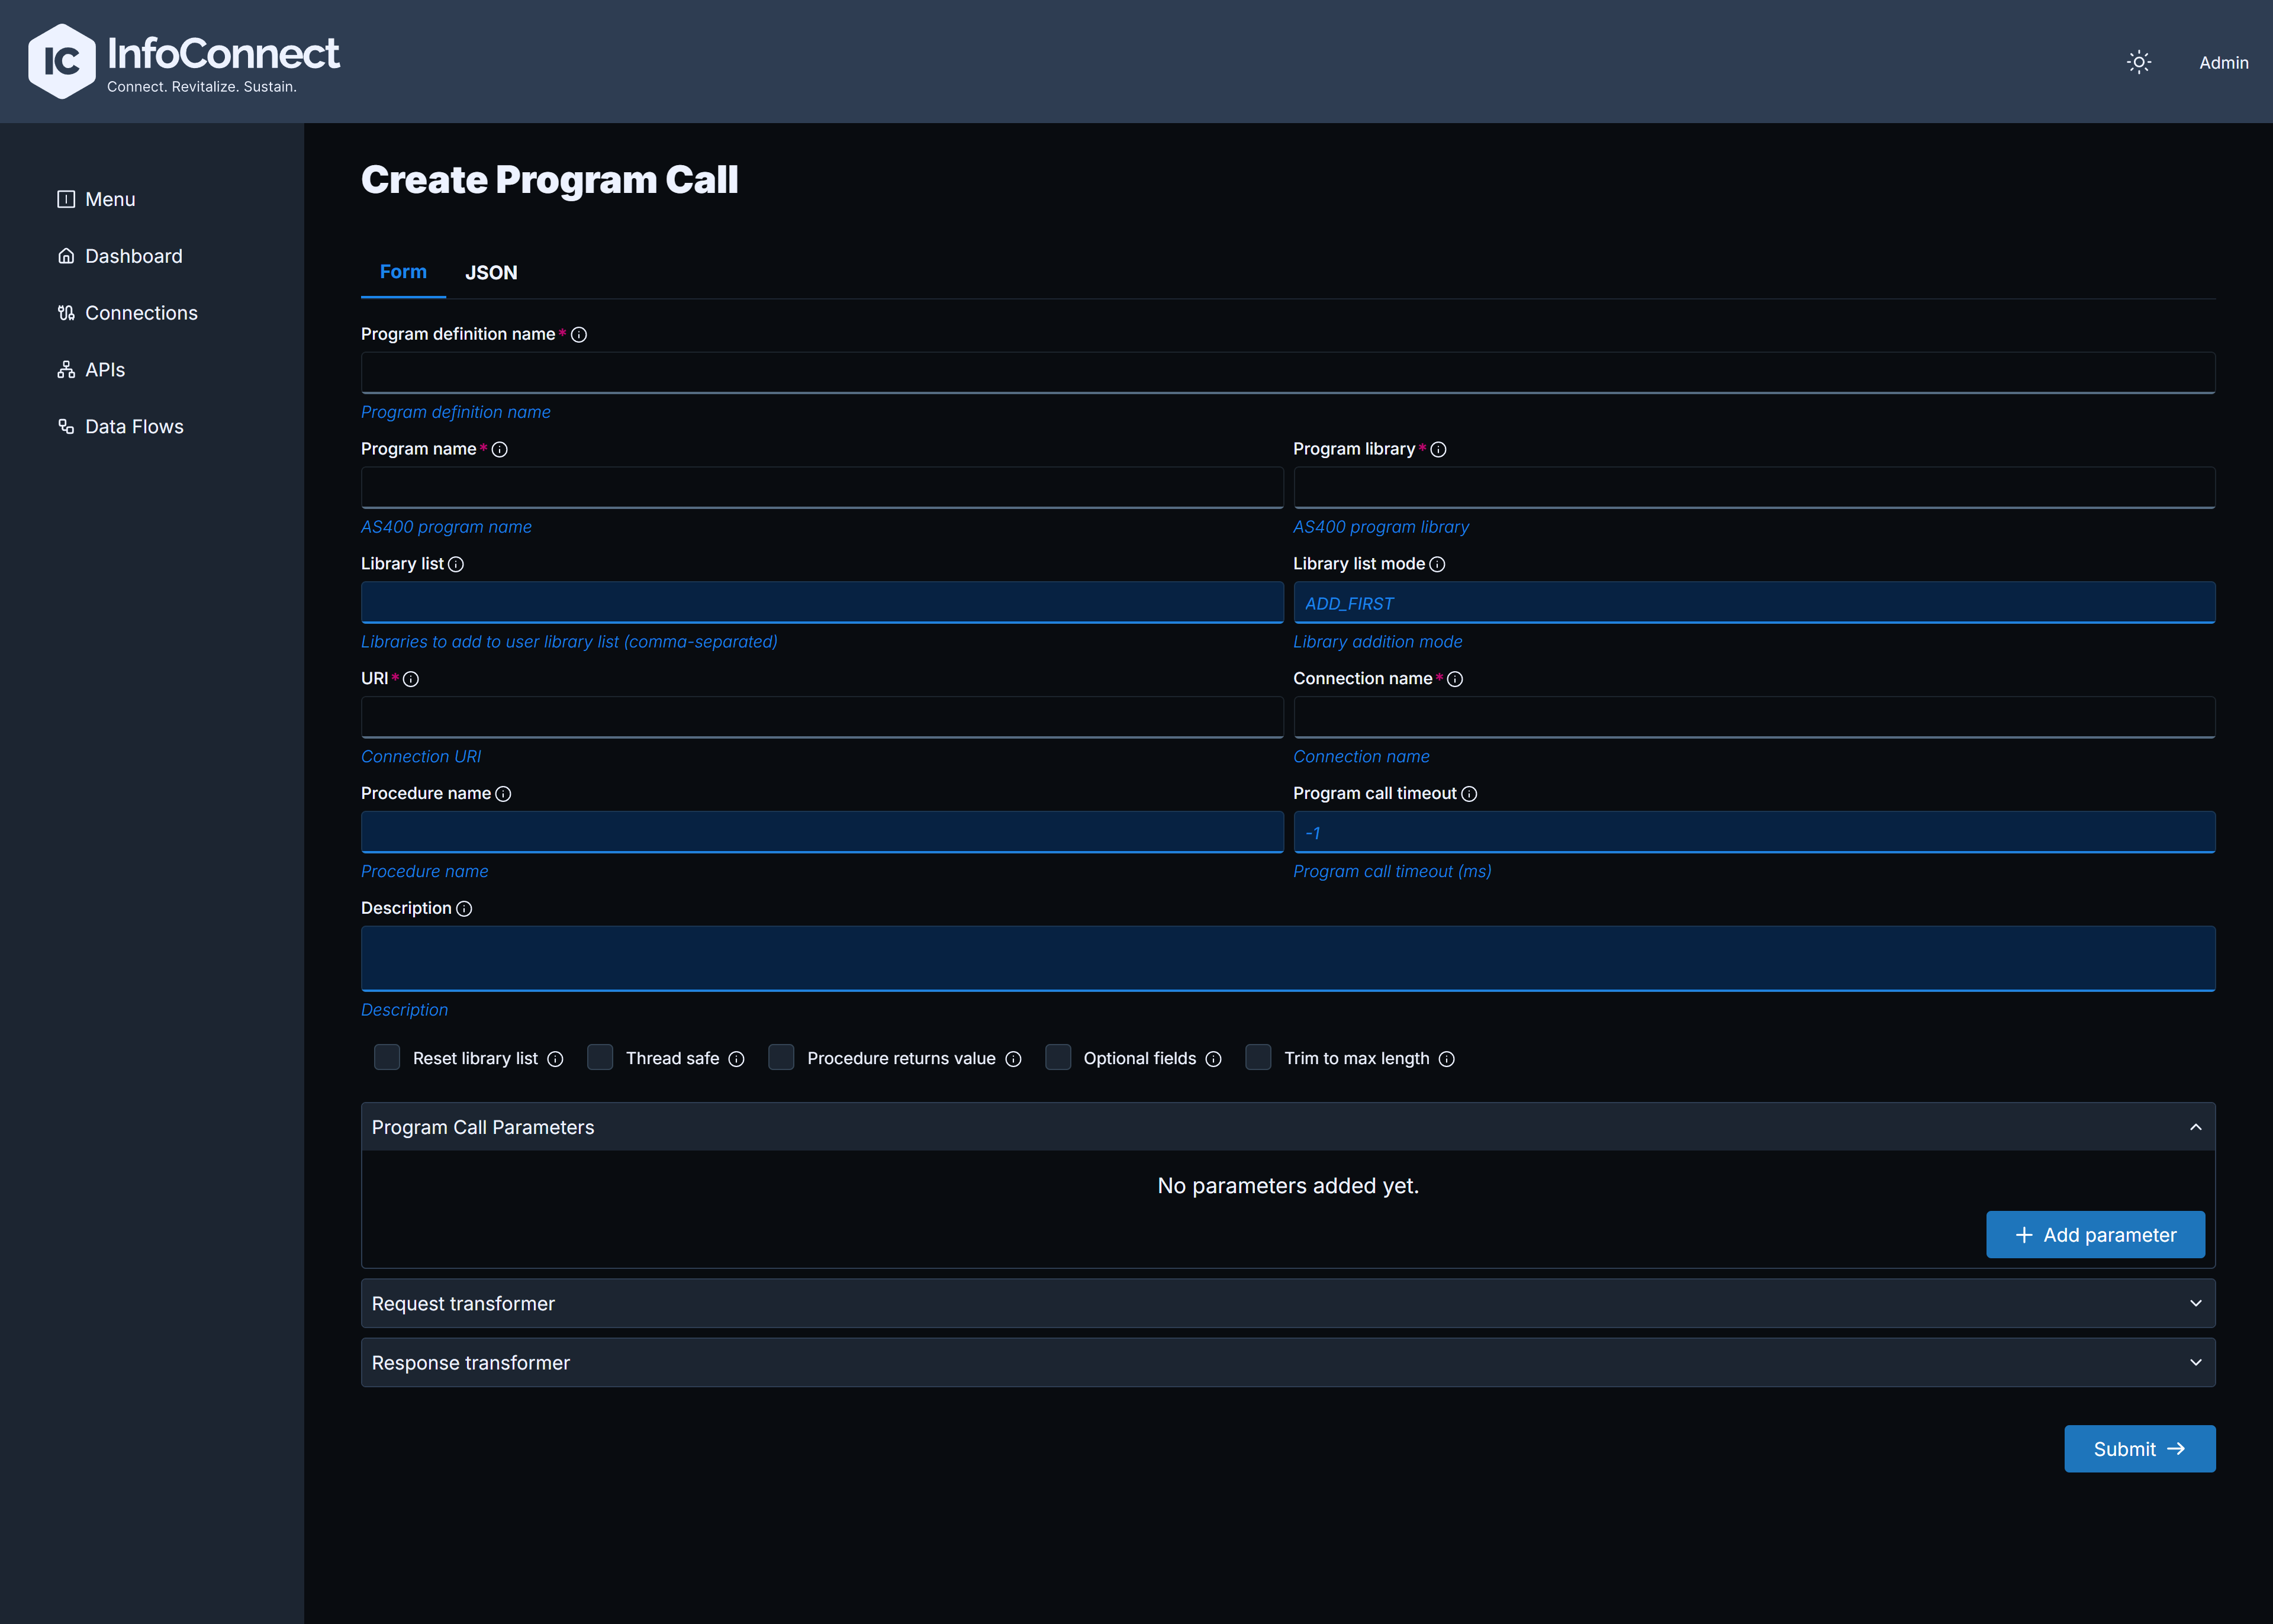
Sample JSON configuration for a Program Call API
{
  "programDefinitionName": "CRTORDER",
  "programName": "CRTORDER",
  "programLibrary": "HUBDEMOS",
  "uri": "/api/orders",
  "connectionName": "NATIVE",
  "resetLibraryList": false,
  "programCallParameters": {
    "params": [
      {
        "parameterName": "orderID",
        "sourceFieldName": "$['orderID']",
        "dataType": "PACKED",
        "length": 8,
        "usage": "INOUT"
      },
      {
        "parameterName": "extOrderID",
        "sourceFieldName": "$['externalOrderID']",
        "dataType": "PACKED",
        "length": 8,
        "usage": "INOUT"
      },
      {
        "parameterName": "orderAmt",
        "sourceFieldName": "$['orderAmount']",
        "dataType": "PACKED",
        "length": 10,
        "decimalPositions": 2,
        "usage": "INOUT"
      },
      {
        "parameterName": "orderStatus",
        "sourceFieldName": "$['orderStatus']",
        "dataType": "STRING",
        "length": 10,
        "usage": "INOUT"
      },
      {
        "parameterName": "orderLines",
        "sourceFieldName": "$['orderLines']",
        "dataType": "PACKED",
        "length": 4,
        "usage": "INOUT"
      },
      {
        "parameterName": "ORDERLINESIN",
        "sourceFieldName": "$['orderItemsIn']",
        "dataType": "STRUCTURE",
        "count": 10,
        "usage": "INOUT",
        "dataStructureElements": [
          {
            "parameterName": "ITEM",
            "sourceFieldName": "$['item']",
            "dataType": "STRING",
            "length": 10
          },
          {
            "parameterName": "QTY",
            "sourceFieldName": "$['qty']",
            "dataType": "PACKED",
            "length": 5
          },
          {
            "parameterName": "PRICE",
            "sourceFieldName": "$['price']",
            "dataType": "PACKED",
            "length": 10,
            "decimalPositions": 2
          }
        ]
      }
    ]
  },
  "threadSafe": false
}
You can also create a program call via Admin API instead of using the Web interface. See: API Reference
RPA Call
This API type executes a screen automation script. It requires a Screen Automation Connection.
- Main Configuration: RPA Call Definition Name, URI, Connection Name (select the configured Screen Automation Connection)
- Key String: Define the sequence of keystrokes, commands, and variables to execute on the green screen. Example:
[pf5],[tab],2,[enter],:<orderStatus>,[enter]Here,:<orderStatus>is an input variable that will be provided when the API is called - RPA Call Parameters: Define the input parameters (like
orderStatusfrom the example above) that your script uses - Macro Transport Configuration: (Optional) For more complex logic, you can specify a Python script to be executed. Configure the location of the script file here
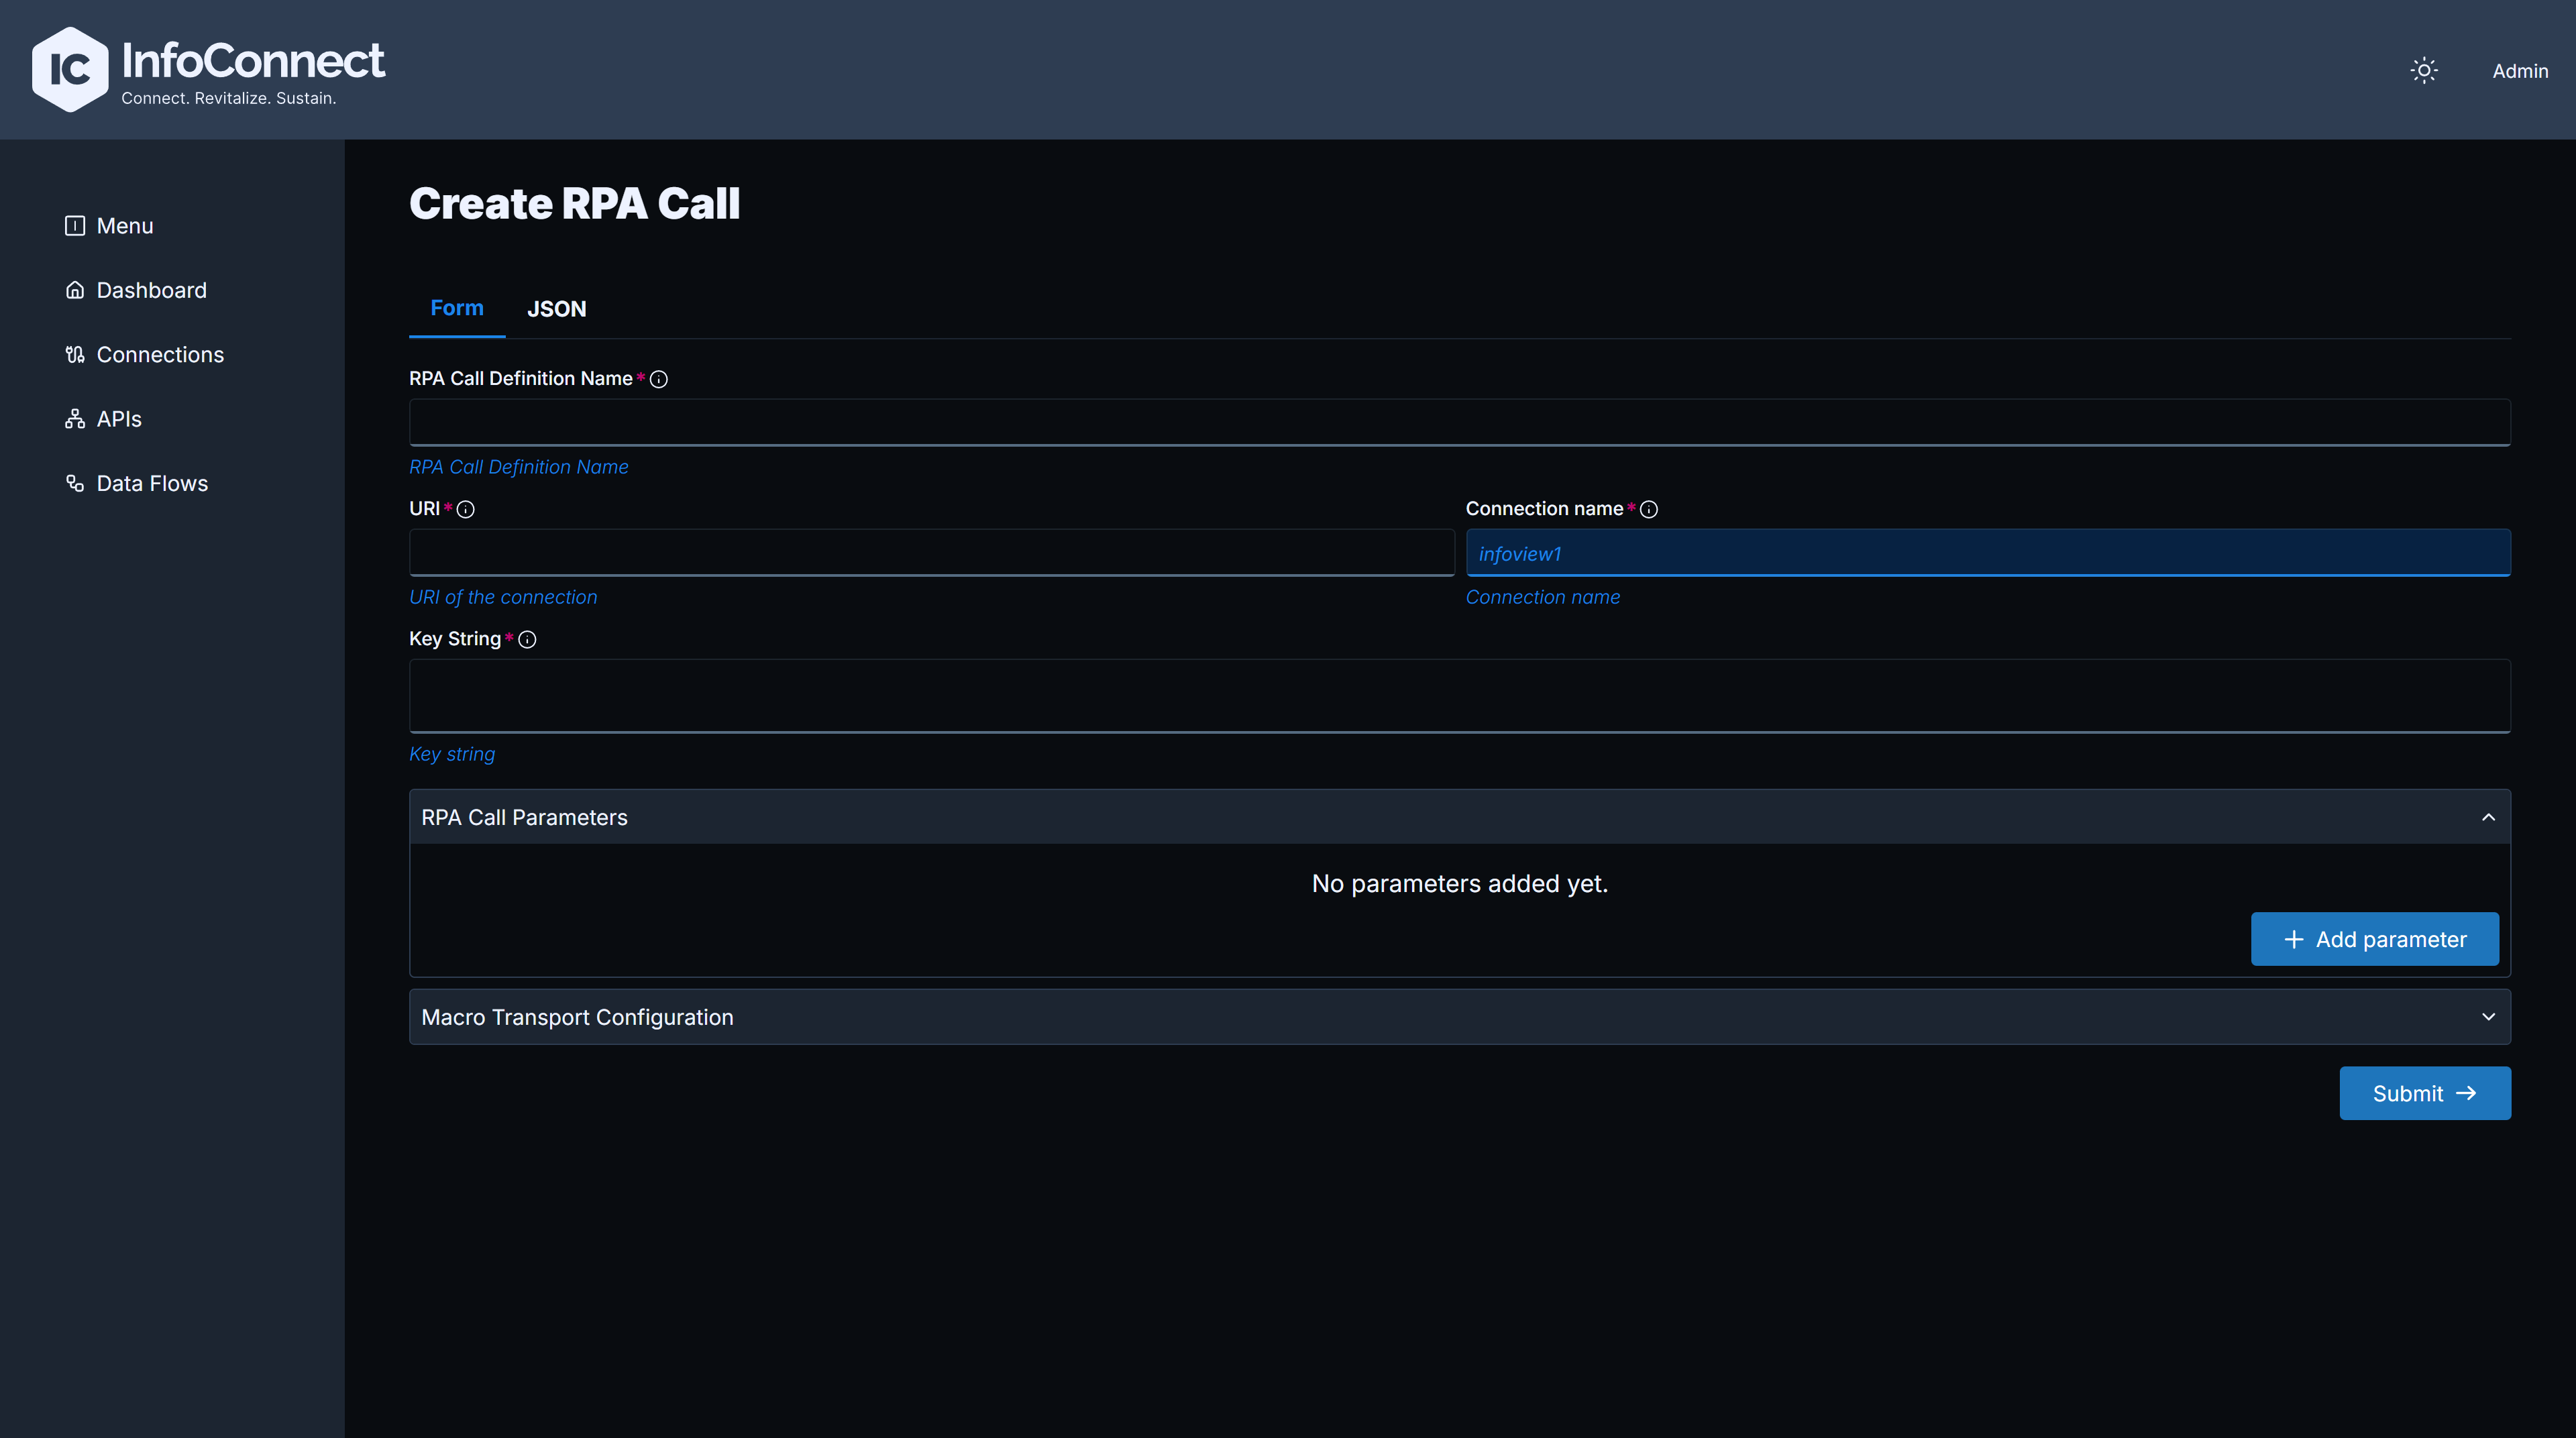
You can also create rpa call via Admin API instead of using the Web interface. See: RPA API Reference
After creating the API, you can execute it directly from the web interface to test its functionality.
Executing APIs
Navigate to the APIs list, click on your API, and find the Execute button.
Execute a Program Call
The execute screen provides a form to input values for all IN or INOUT parameters. You can also switch to the JSON tab to provide the entire payload at once.
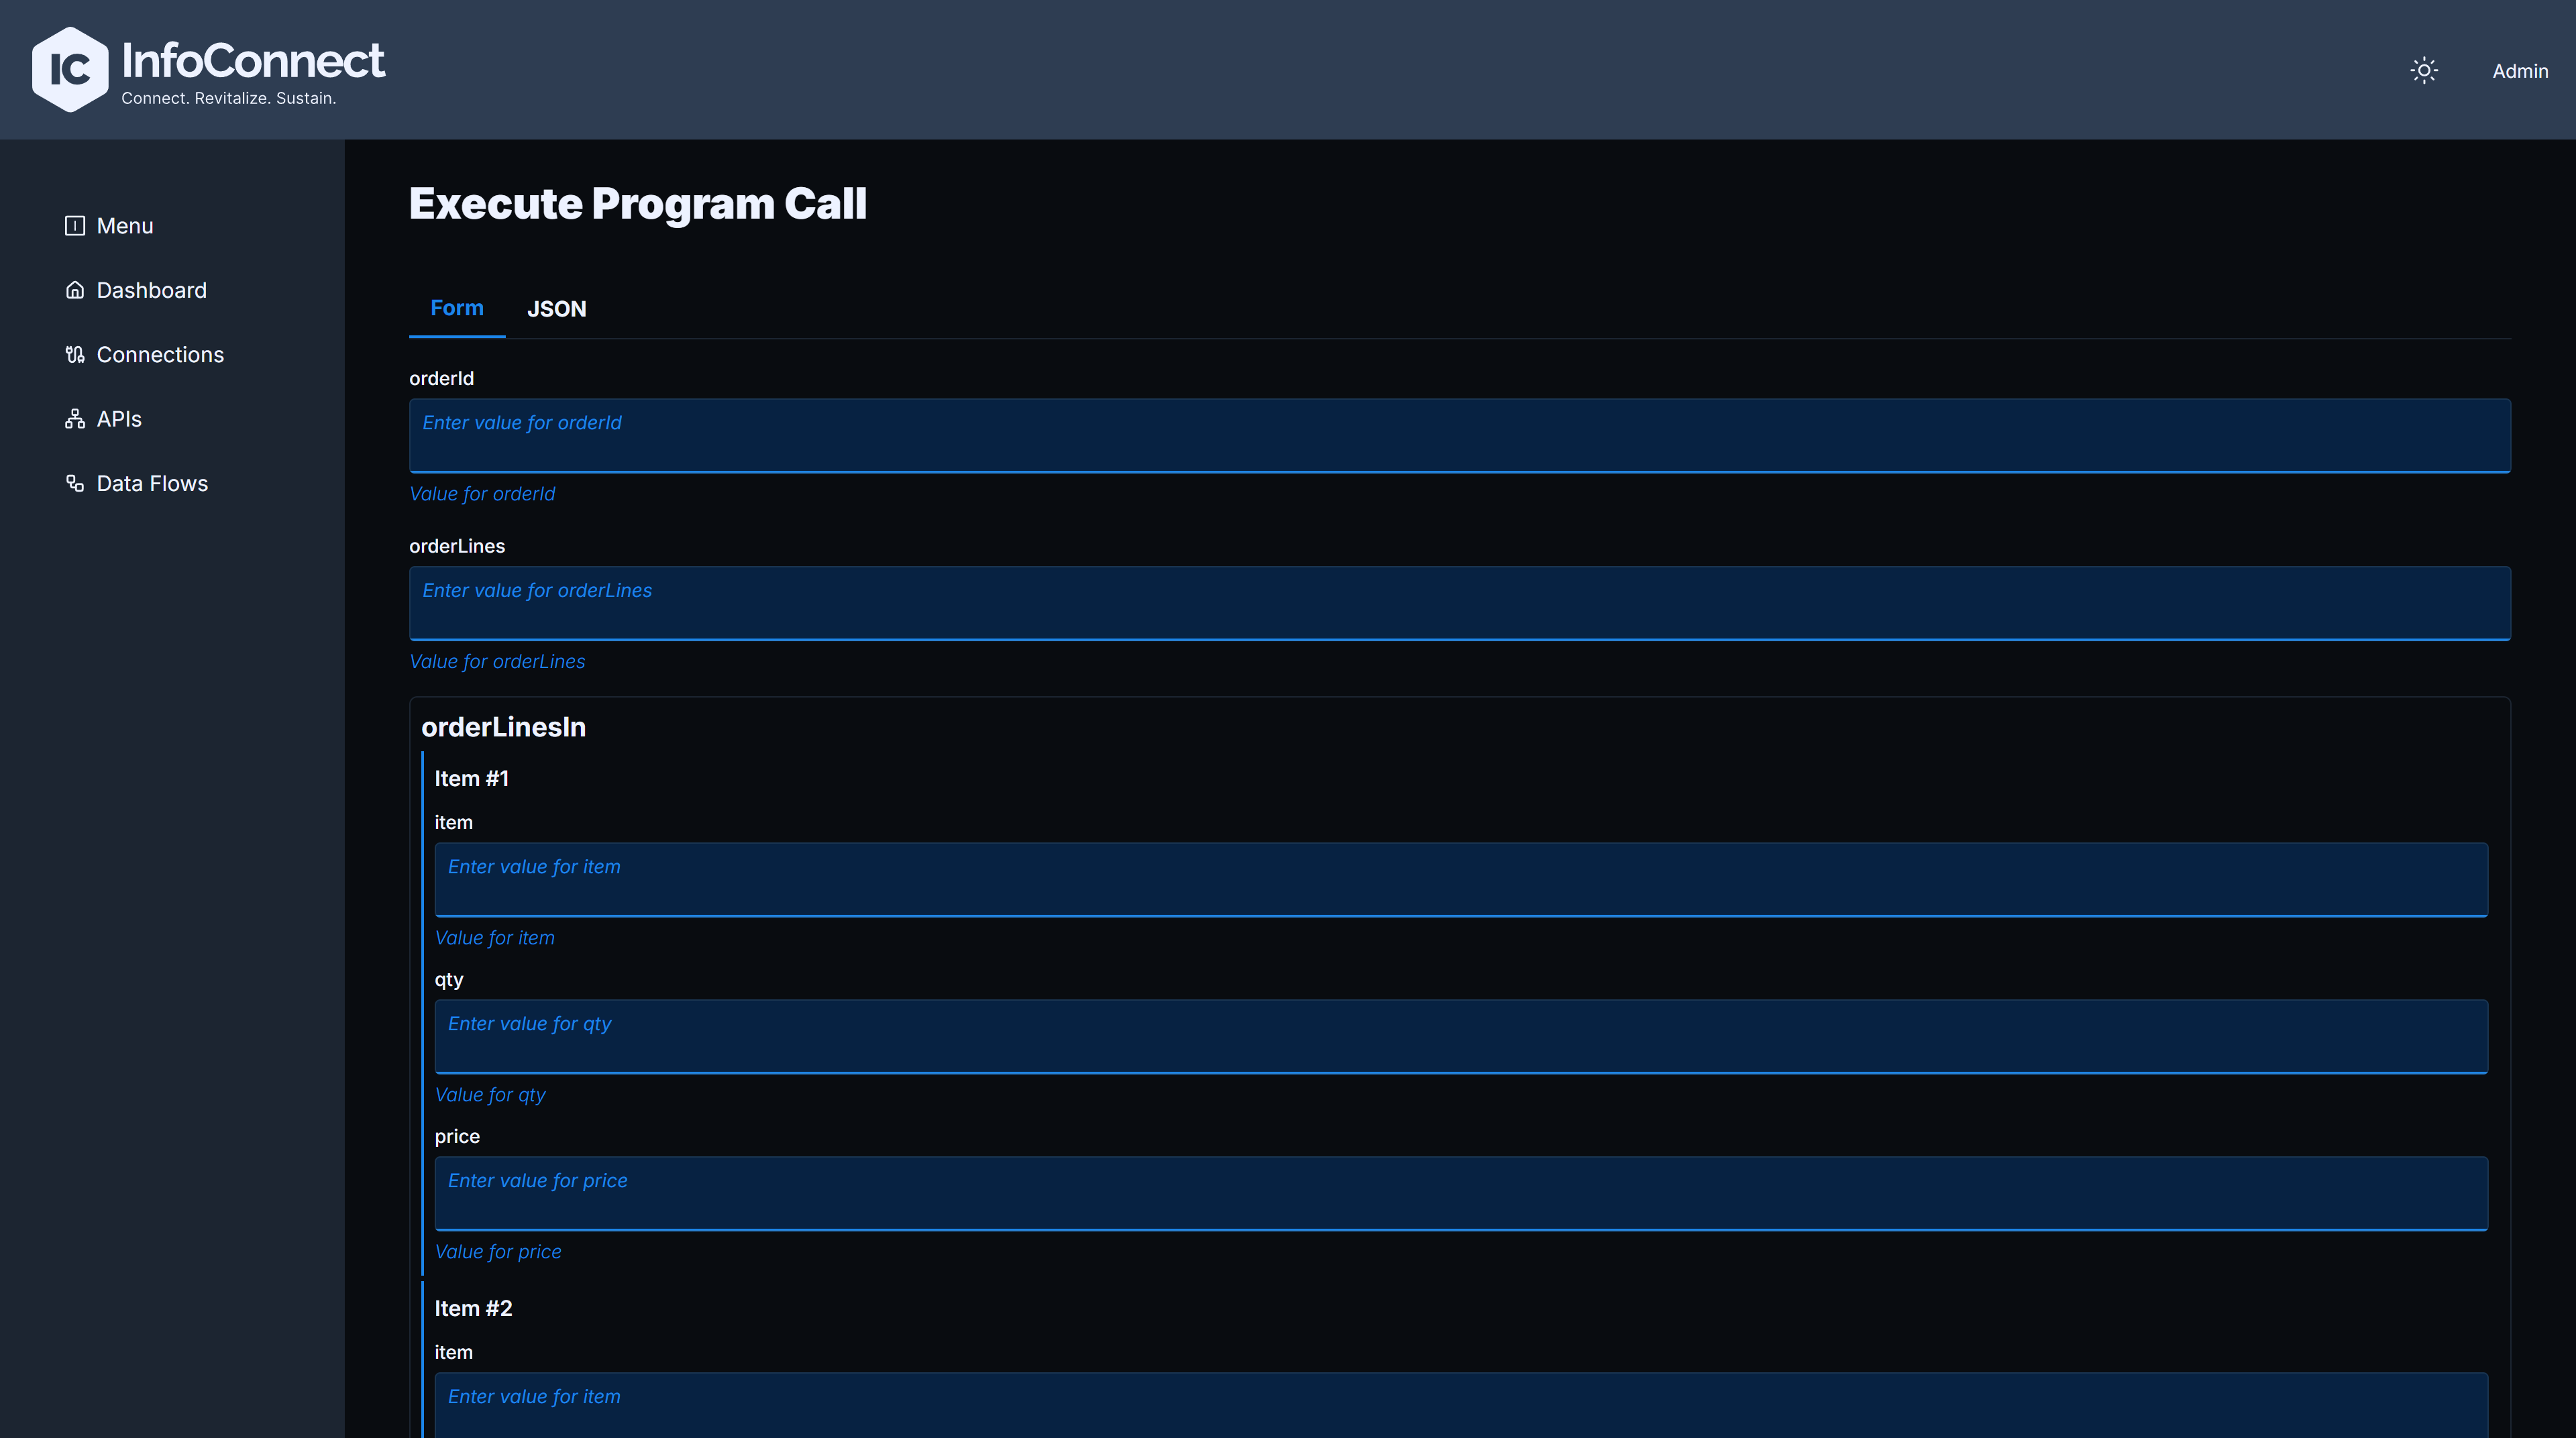
Sample JSON Payload for Execution
After clicking Execute, the response from the IBM i program will be displayed in the Execution Result section.
You can also execute program call via Admin API instead of using the Web interface. See: API Reference
Execute an RPA Call
The process is identical for RPA Calls. The execute screen will show fields for any input variables defined in your Key String. Provide the values and click Execute to see the result of the screen automation.
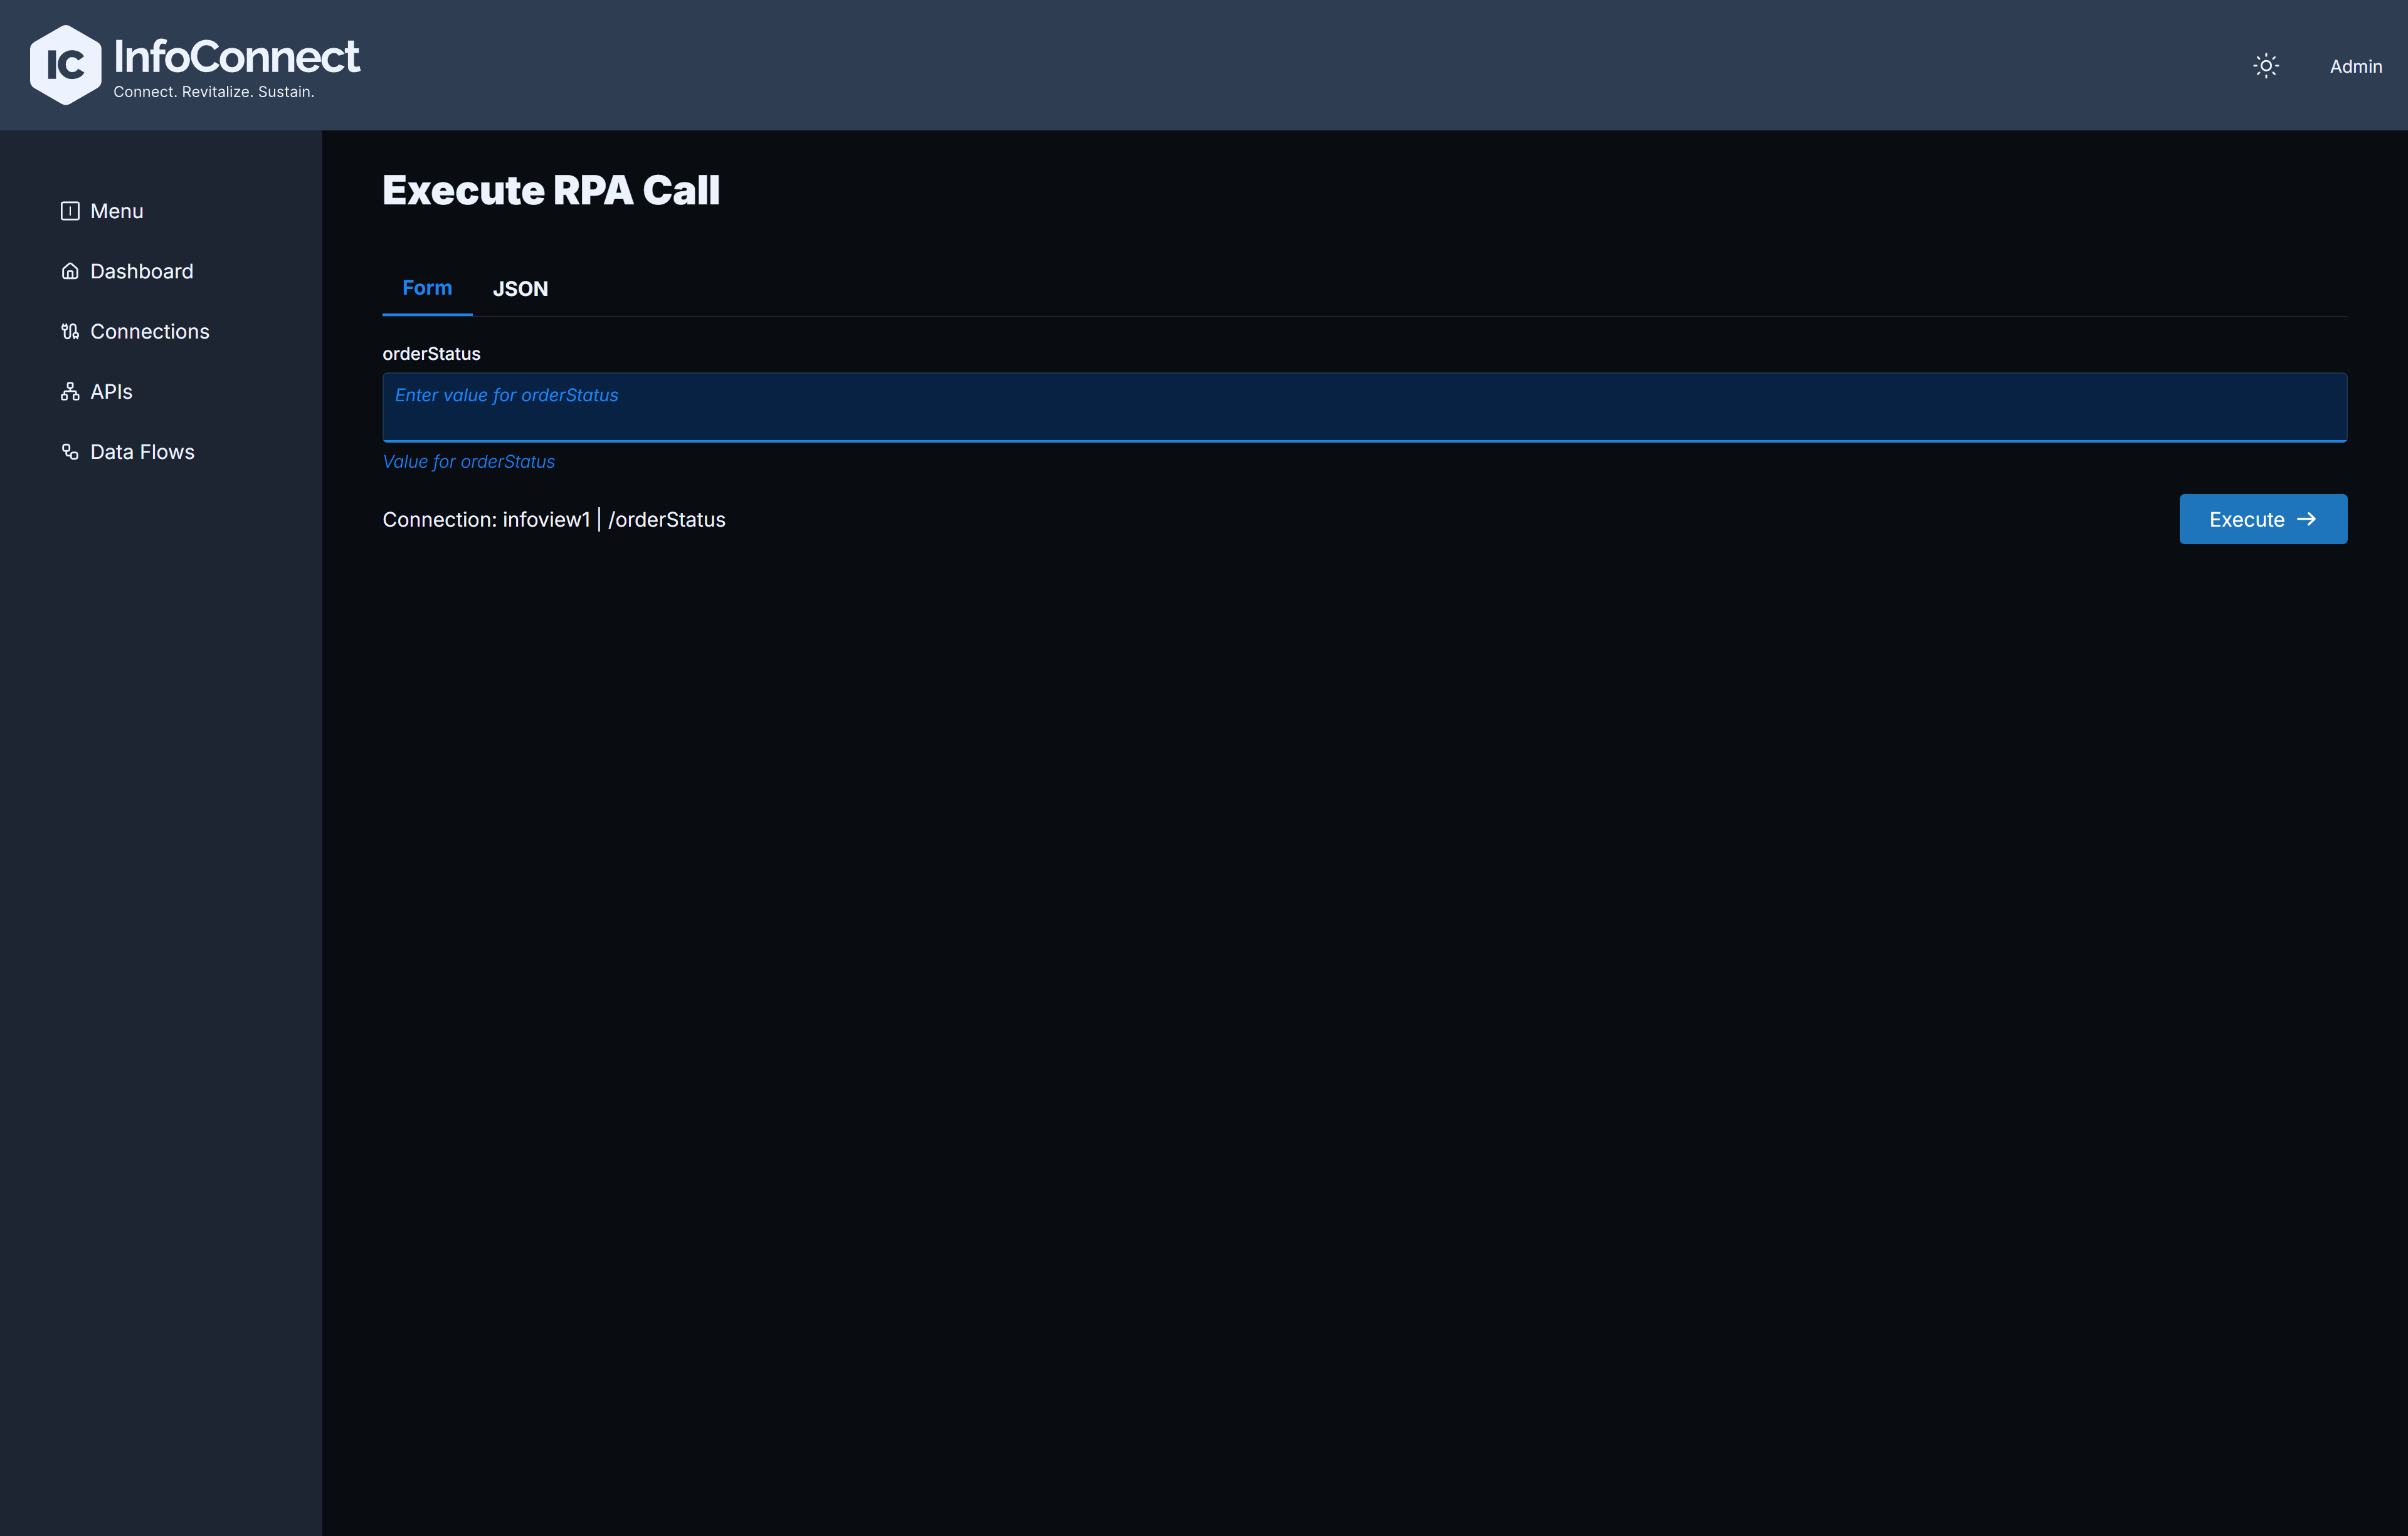
You can also execute rpa call via Admin API instead of using the Web interface. See: RPA API Reference
Data Flows
Data Flows are used to create real-time data pipelines.
- From the navigation bar, click on Data Flows
- Click the Create Data Flow button
- Choose a direction: Outbound (IBM i to Cloud) or Inbound (Cloud to IBM i)
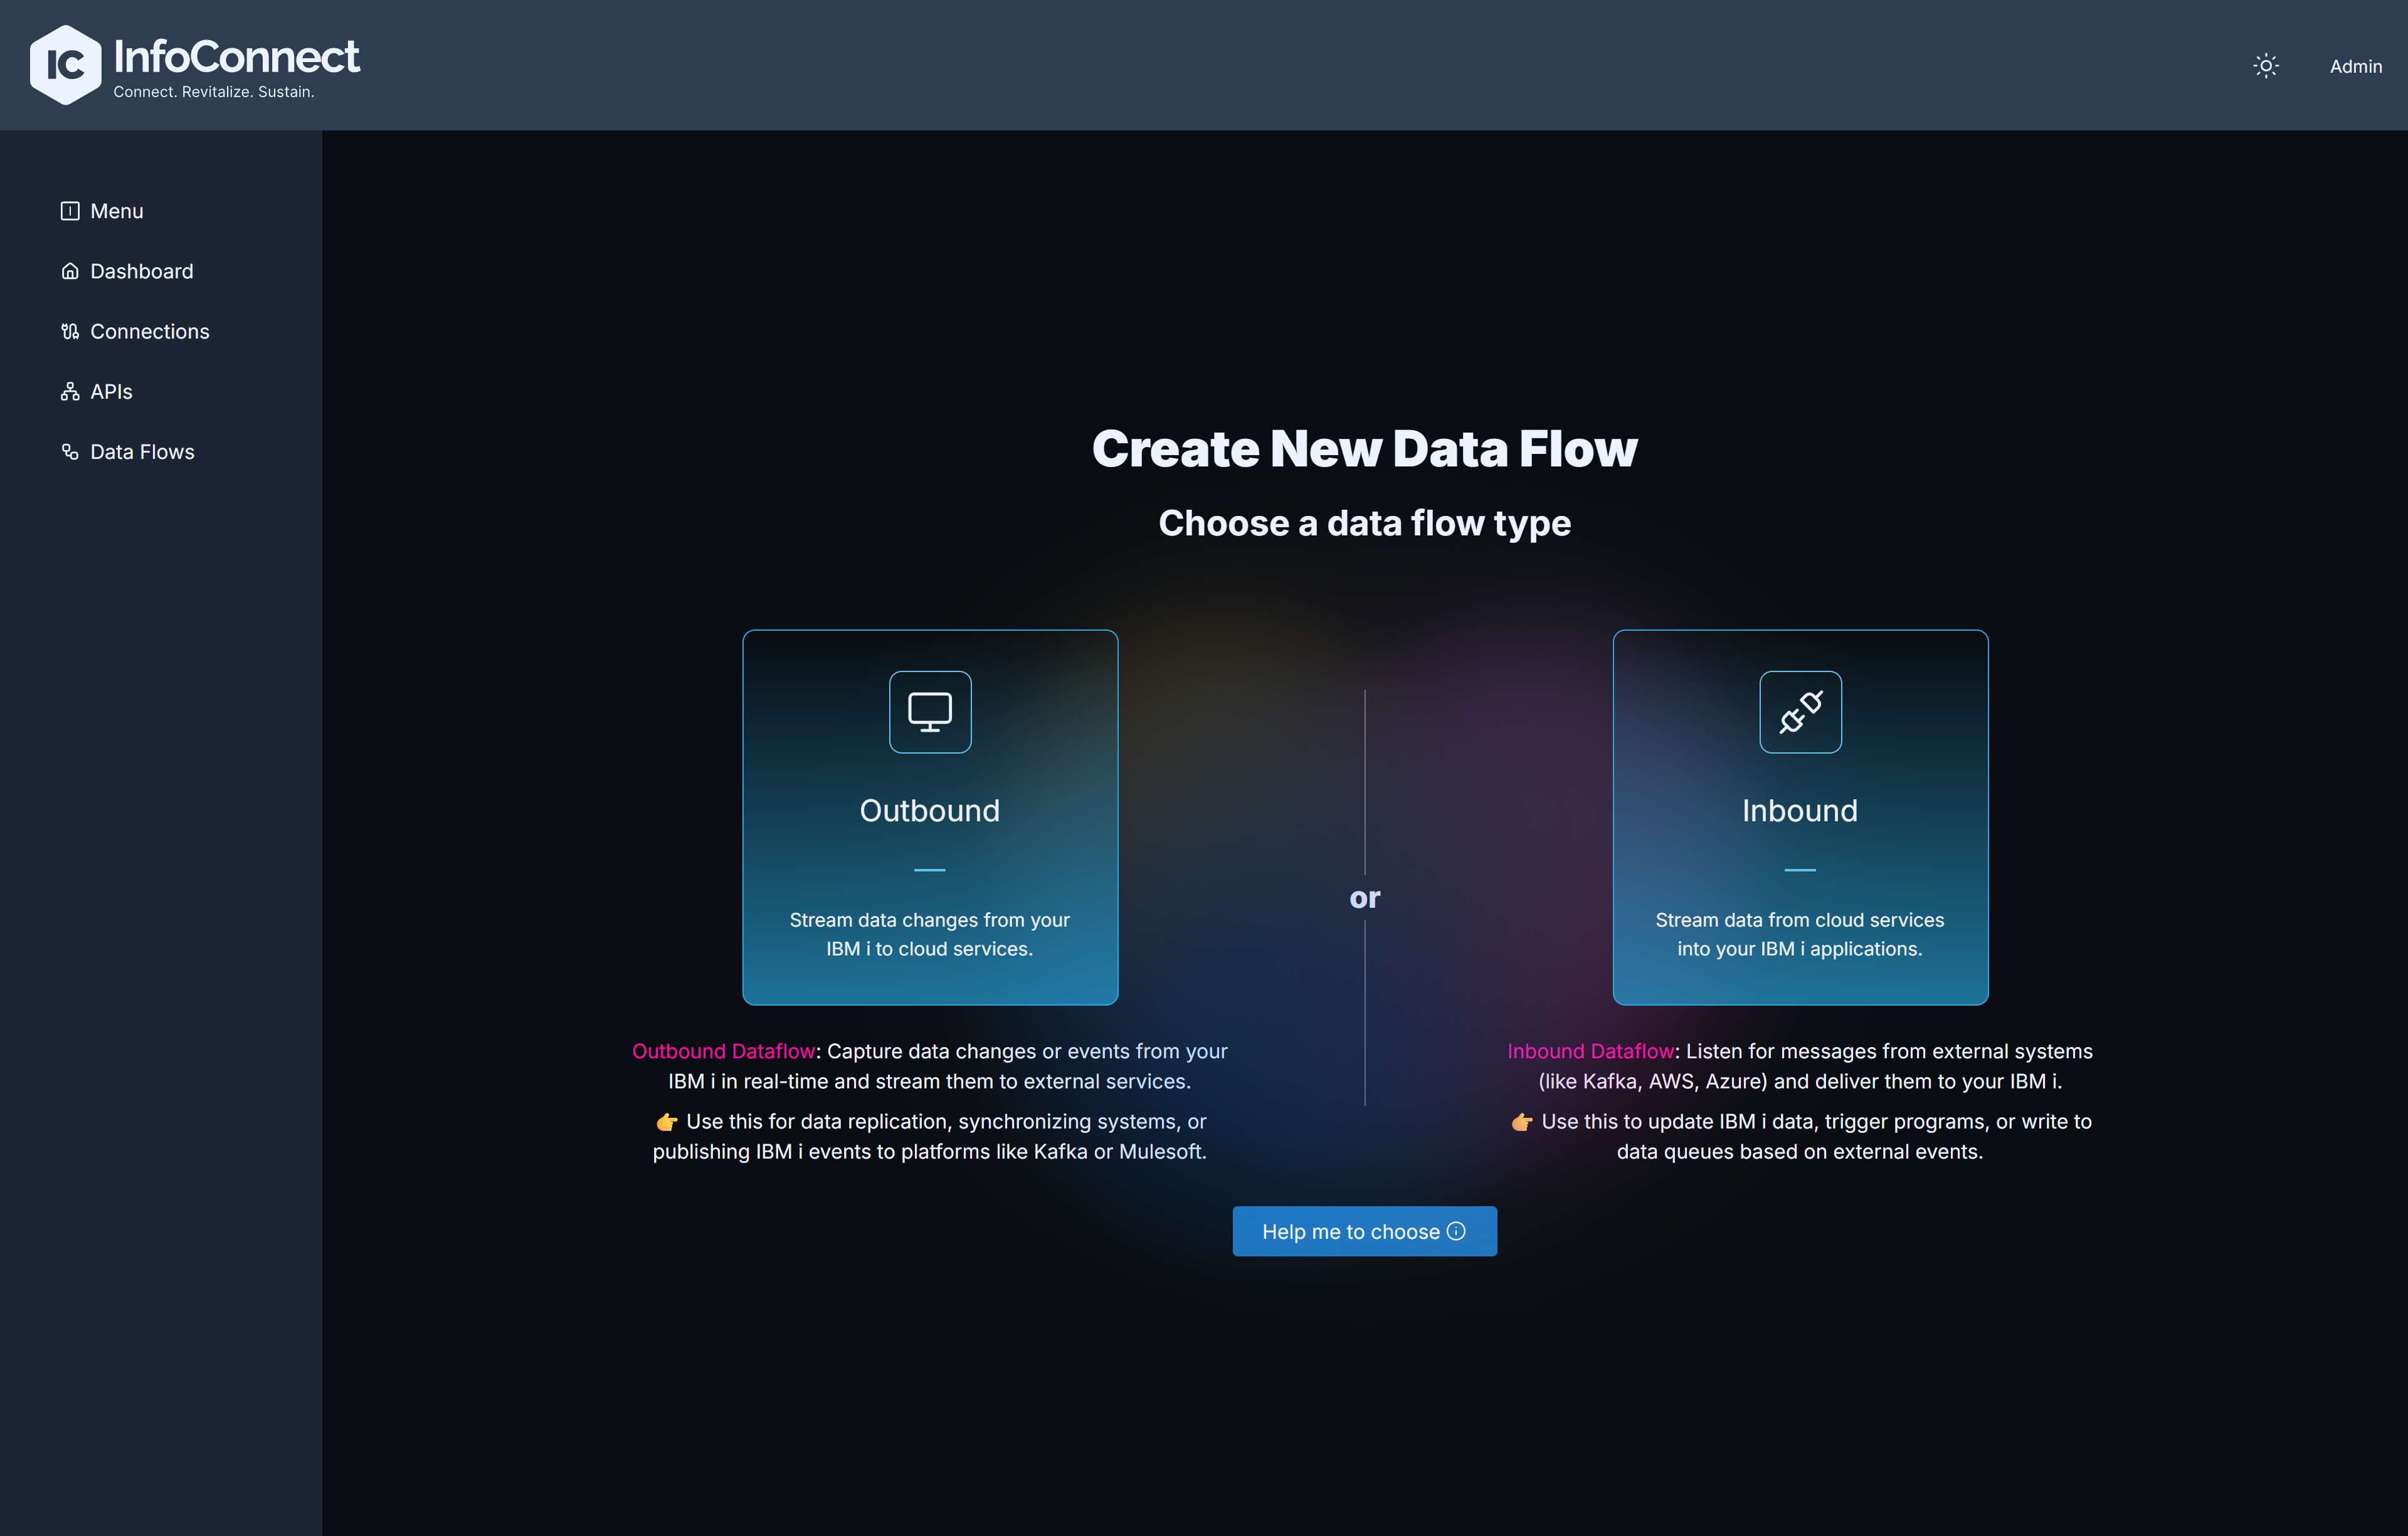
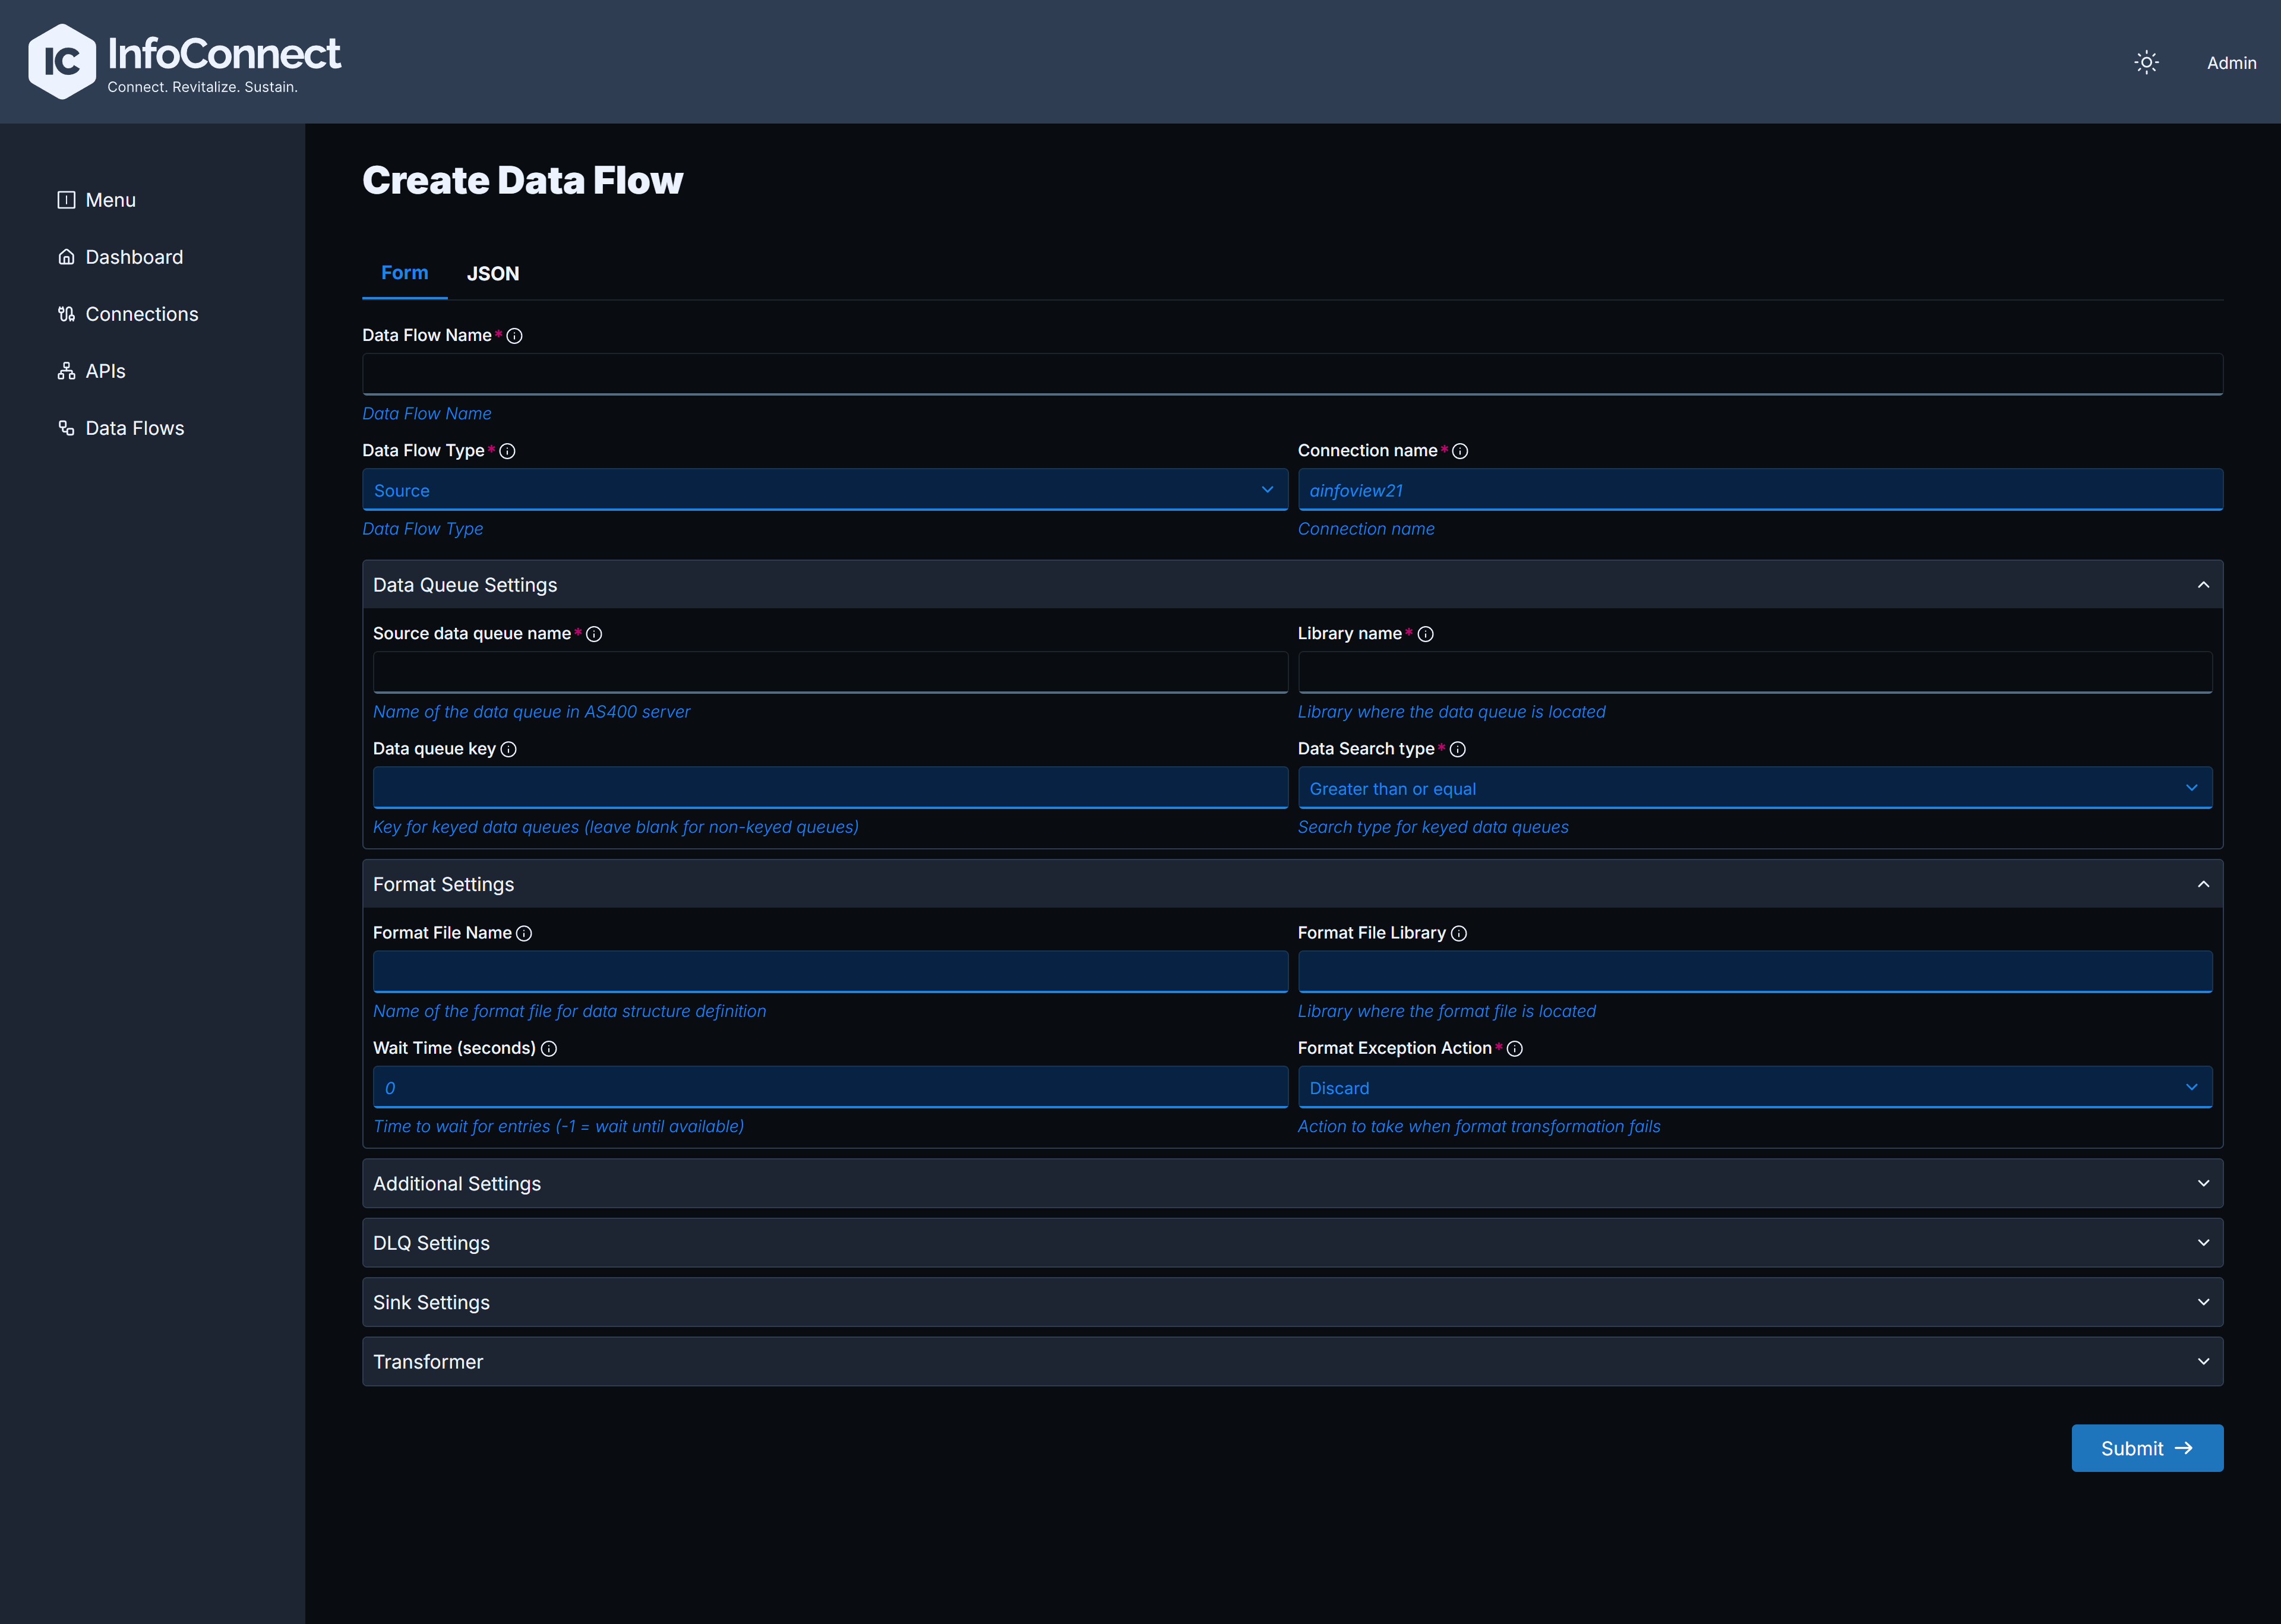
Outbound Data Flow
This flow listens for changes in an IBM i Data Queue and sends them to an external system.
- Main Configuration: Data Flow Name, Connection Name (select the Native Connection to your IBM i)
- Data Queue Settings: Specify the Data Queue Name and Library to monitor
- Sink Settings: Sink Type (e.g.,
JDBC,SNS,SQS,Kafka), then fill in required properties based on selection (connection URL, topic name, credentials, etc.) - Transformer: (Optional) Transform the data before sending it to the destination
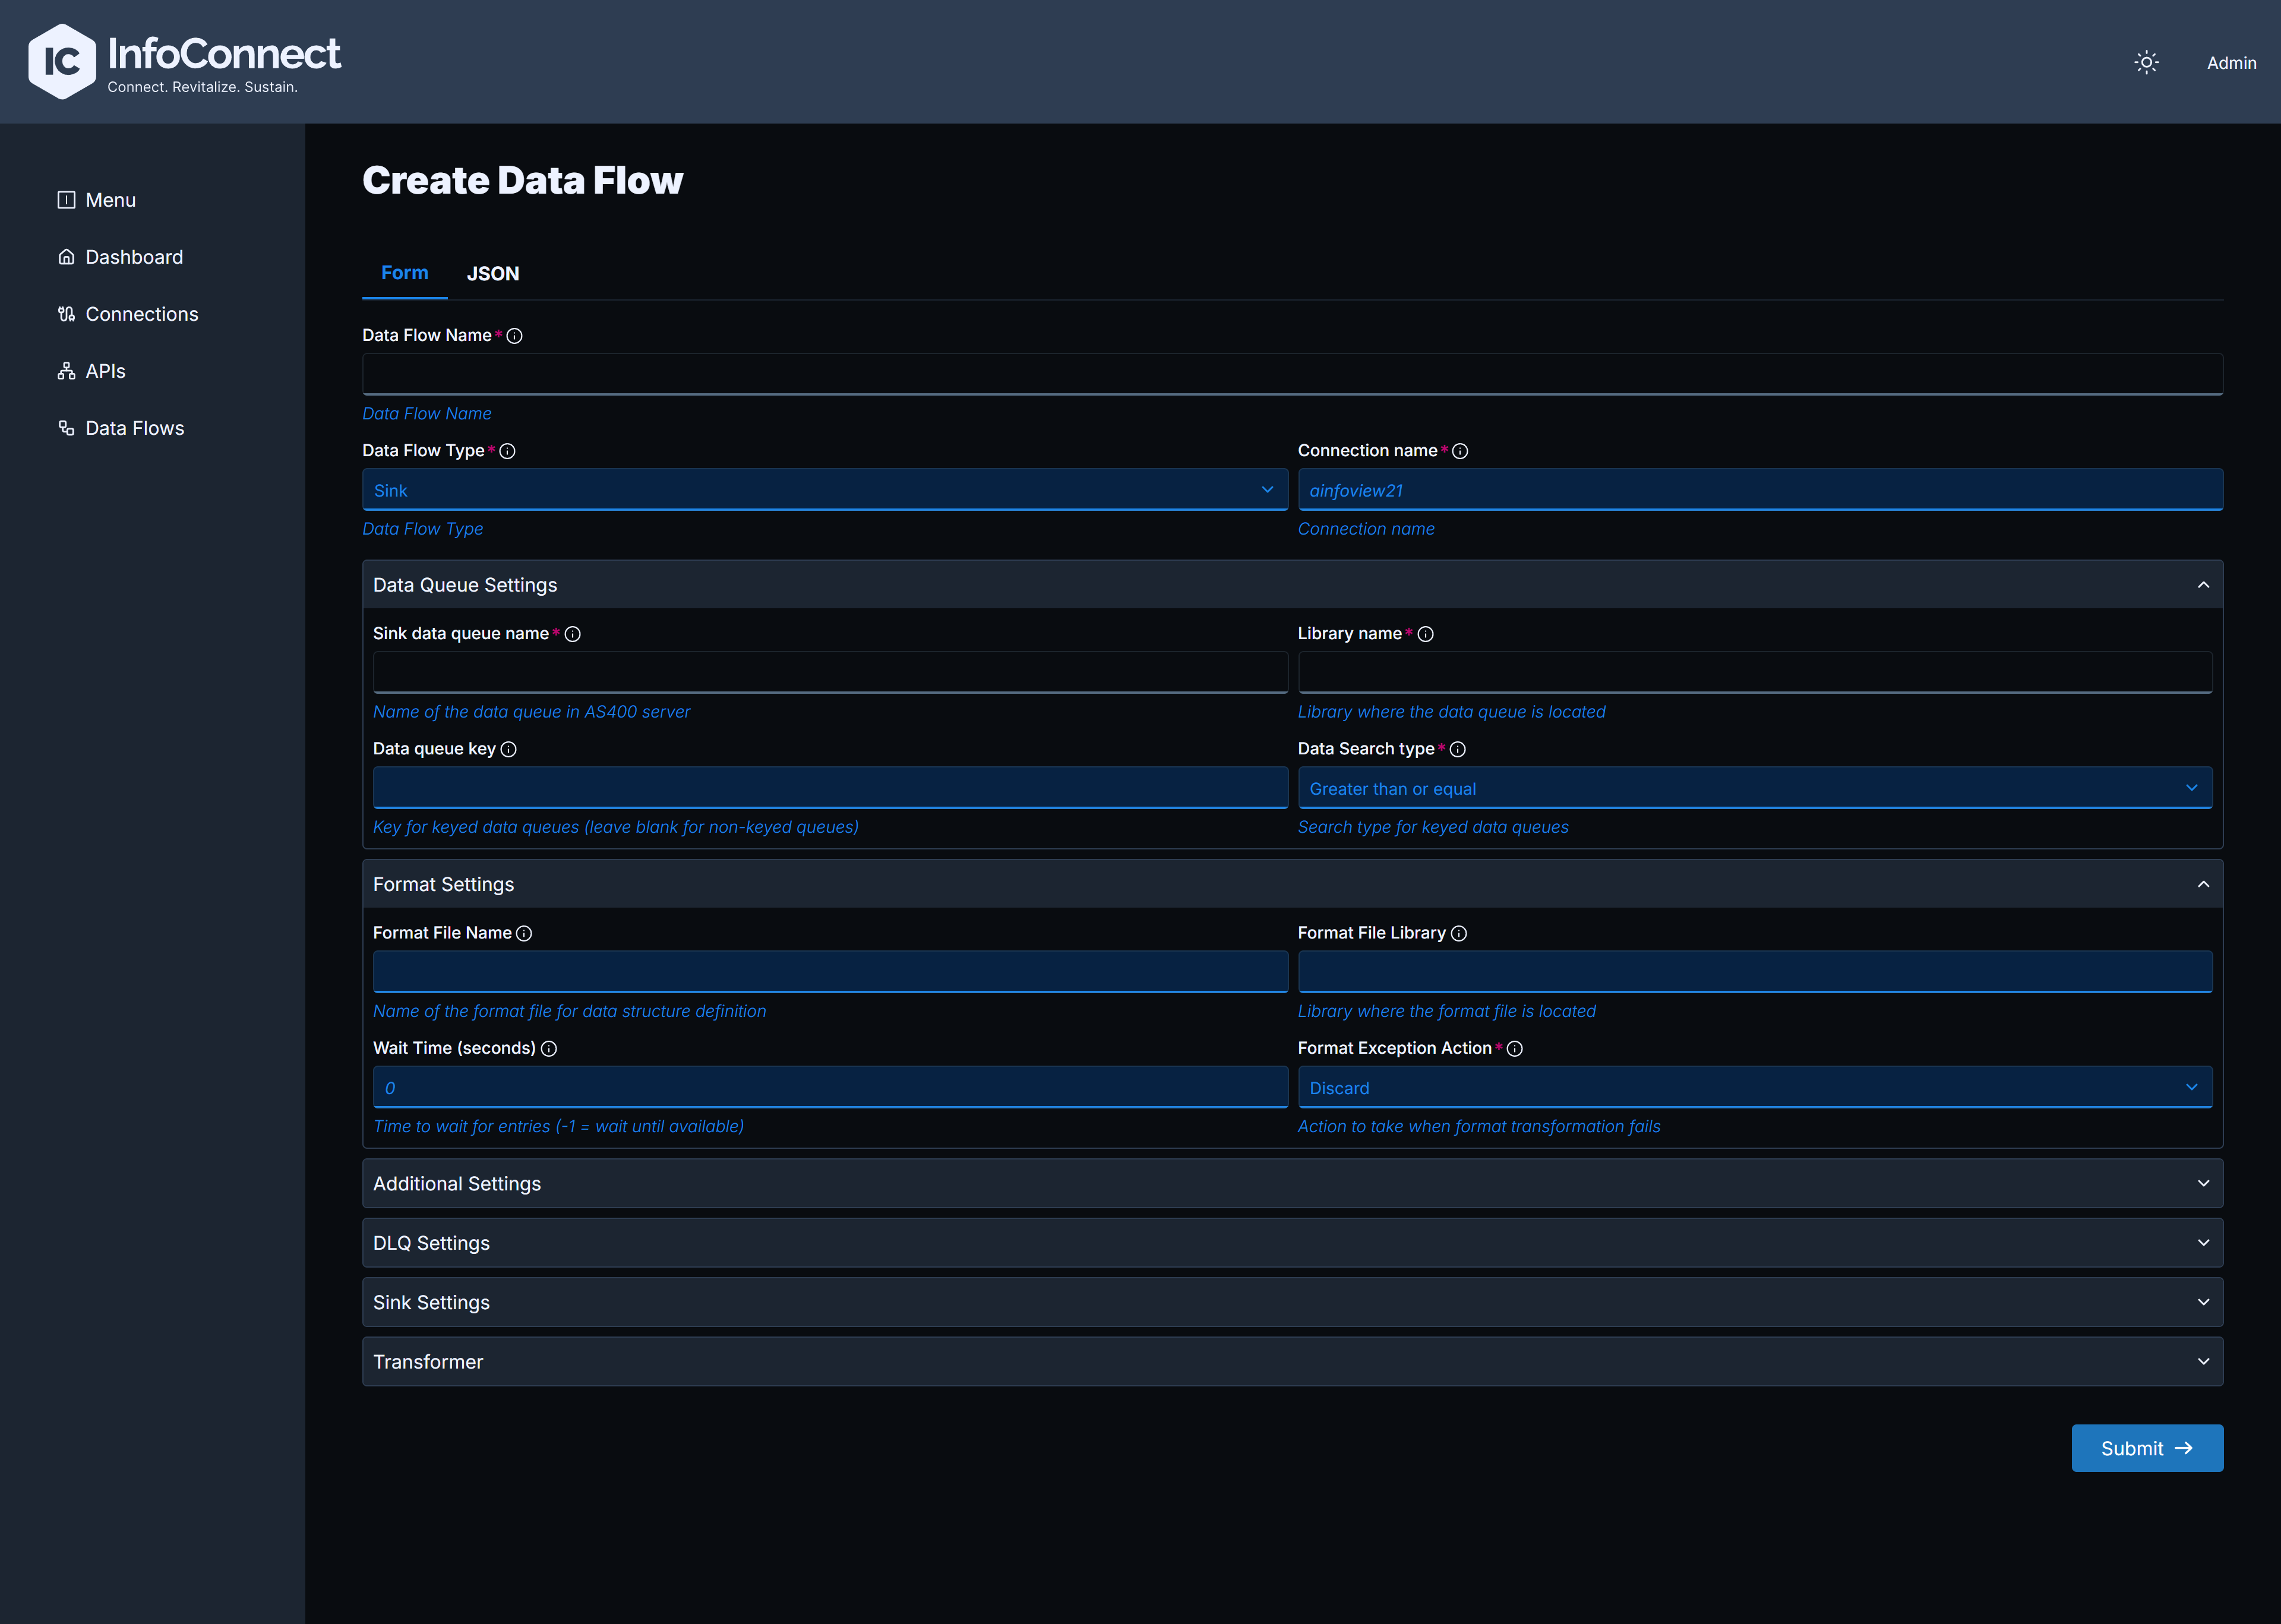
Sample JSON configuration for a Data Flow
{
  "pollerName": "CDC2RDS",
  "dqName": "DQNAME",
  "libraryName": "INFOCDCDTA",
  "dqFormatFileName": "FMTFILE",
  "dqFormatFileLibrary": "INFOCDCDTA",
  "connectionName": "NATIVE",
  "infoCDCConfigured": true,
  "dqWaitTime": 30,
  "sinkType": "JDBC",
  "sinkTypeProperties": {
    "jdbcProperties": {
      "driverClassName": "com.mysql.cj.jdbc.Driver",
      "maxPoolSize": 10,
      "minPoolSize": 3,
      "jdbcUrl": "jdbc:mysql://my-database-server:3306/testdb?useSSL=false&serverTimezone=UTC&allowPublicKeyRetrieval=true",
      "username": "encrypted-user-name",
      "password": "encrypted-password"
    }
  },
  "pollerType": "Source",
  "threadCount": "5"
}
You can also create an inbound data flow (poller) via Admin API instead of using the Web interface. See: RPA API Reference
Inbound Data Flow
This flow listens for messages from an external system and places them into an IBM i Data Queue. The configuration is the reverse of an Outbound flow: you configure the source "Sink" (e.g., Kafka) and the target Data Queue.
You can also create an outbound data flow (poller) via Admin API instead of using the Web interface. See: RPA API Reference