Getting Started with the Web UI
This page walks you through the first steps in the InfoConnect Hub web interface: connect to an IBM i system, surface a SQL query as a REST API, test it, and optionally create a Data Flow. Each step links to the page with all fields and options.
Before you begin
- The Hub is installed and running, see Installation, services and updates. In the bundled all-in-one configuration, the web UI is at
http://localhost:8085. - You have the host name, user ID and password of an IBM i user that can access the data you want to use.
Step 1. Sign in
- Open the Hub URL in a browser.
- Enter your Username and Password and click Enter. Use the UI credentials that you entered in the first-launch wizard (
UI_USERNAME/UI_PASSWORD).
The dashboard opens. For the messages that the sign-in screen can show, see Web UI Guide.
Step 2. Create a Native Connection
A connection stores the details that the Hub needs to reach your IBM i system. Use a Native Connection for APIs that call programs or run SQL.
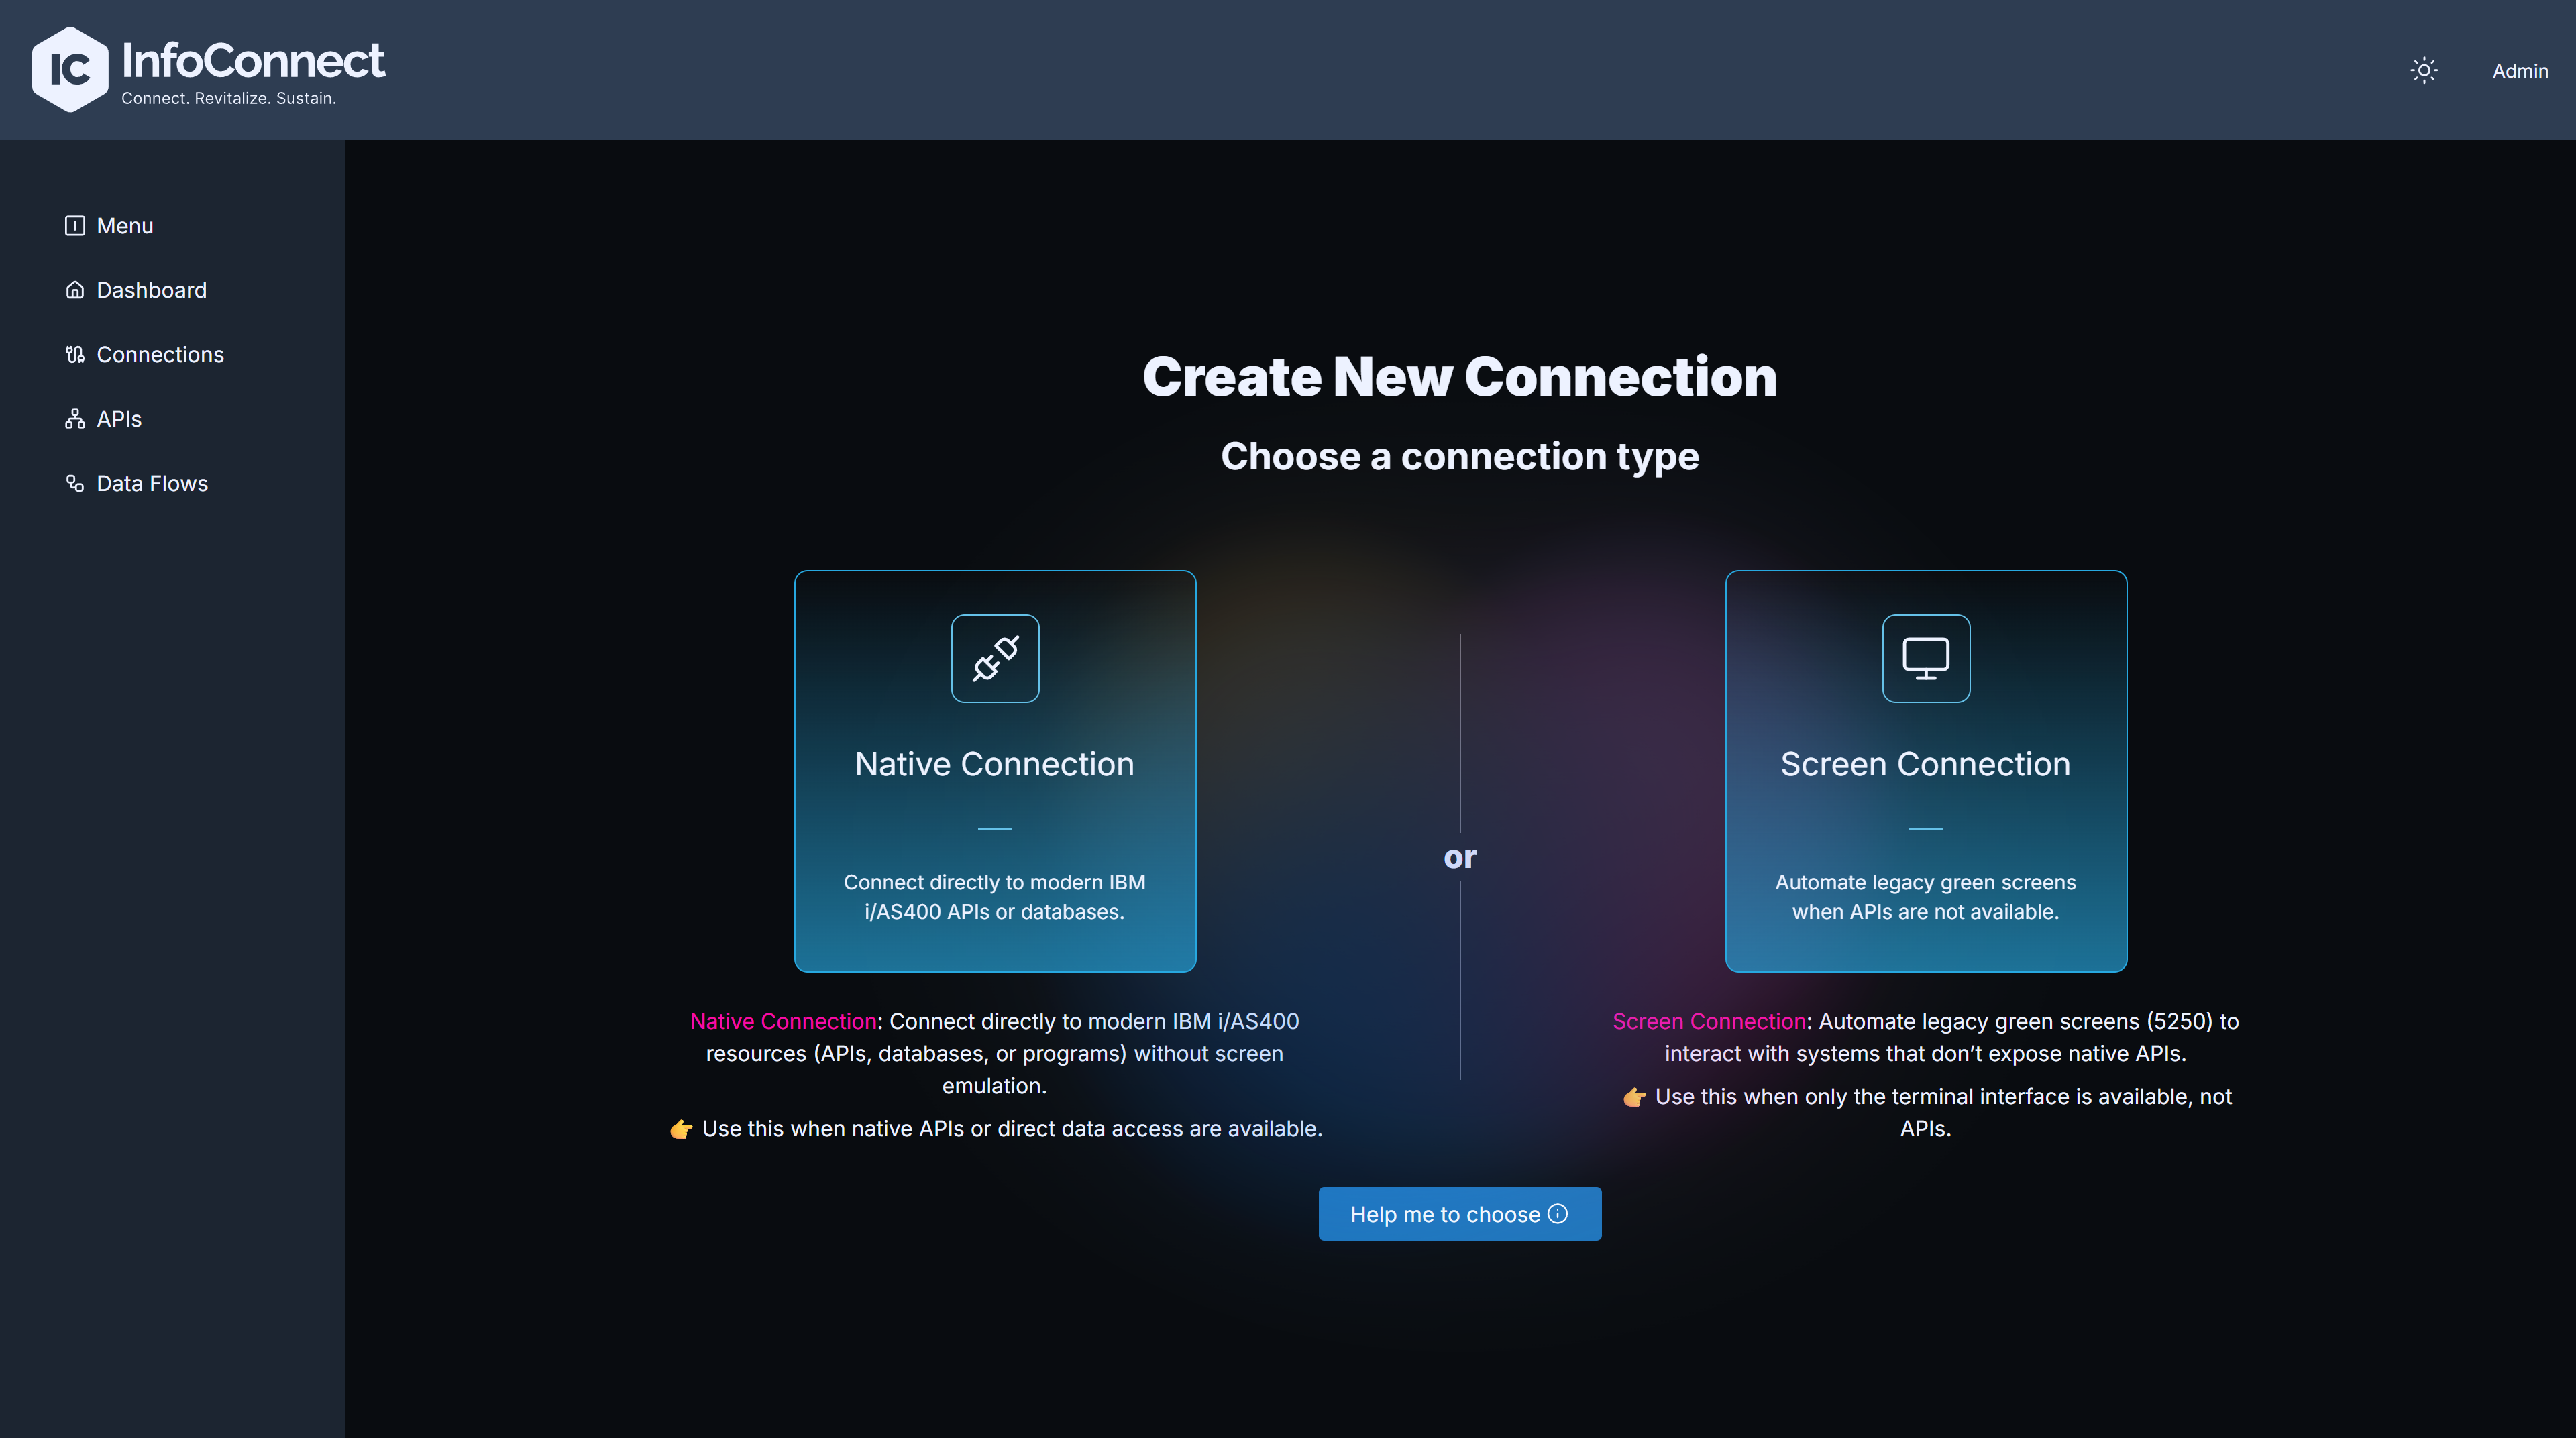
- In the navigation bar, click Connections, then click Create New Connection.
-
Choose Native Connection.
-
Enter a Connection name (letters, digits and hyphens only), the Endpoint (host name or address of the IBM i system), the User Id and the Password. Add a Library list if your SQL or programs need it.
- Click Submit.
The new connection appears in the Connections list. Its status is Active when the license is valid. Otherwise, see License and connection status.
For all fields, see Connections.
Step 3. Create a Data API
A Data API runs an SQL statement on the IBM i and returns the result as a REST API. It needs no IBM i program.
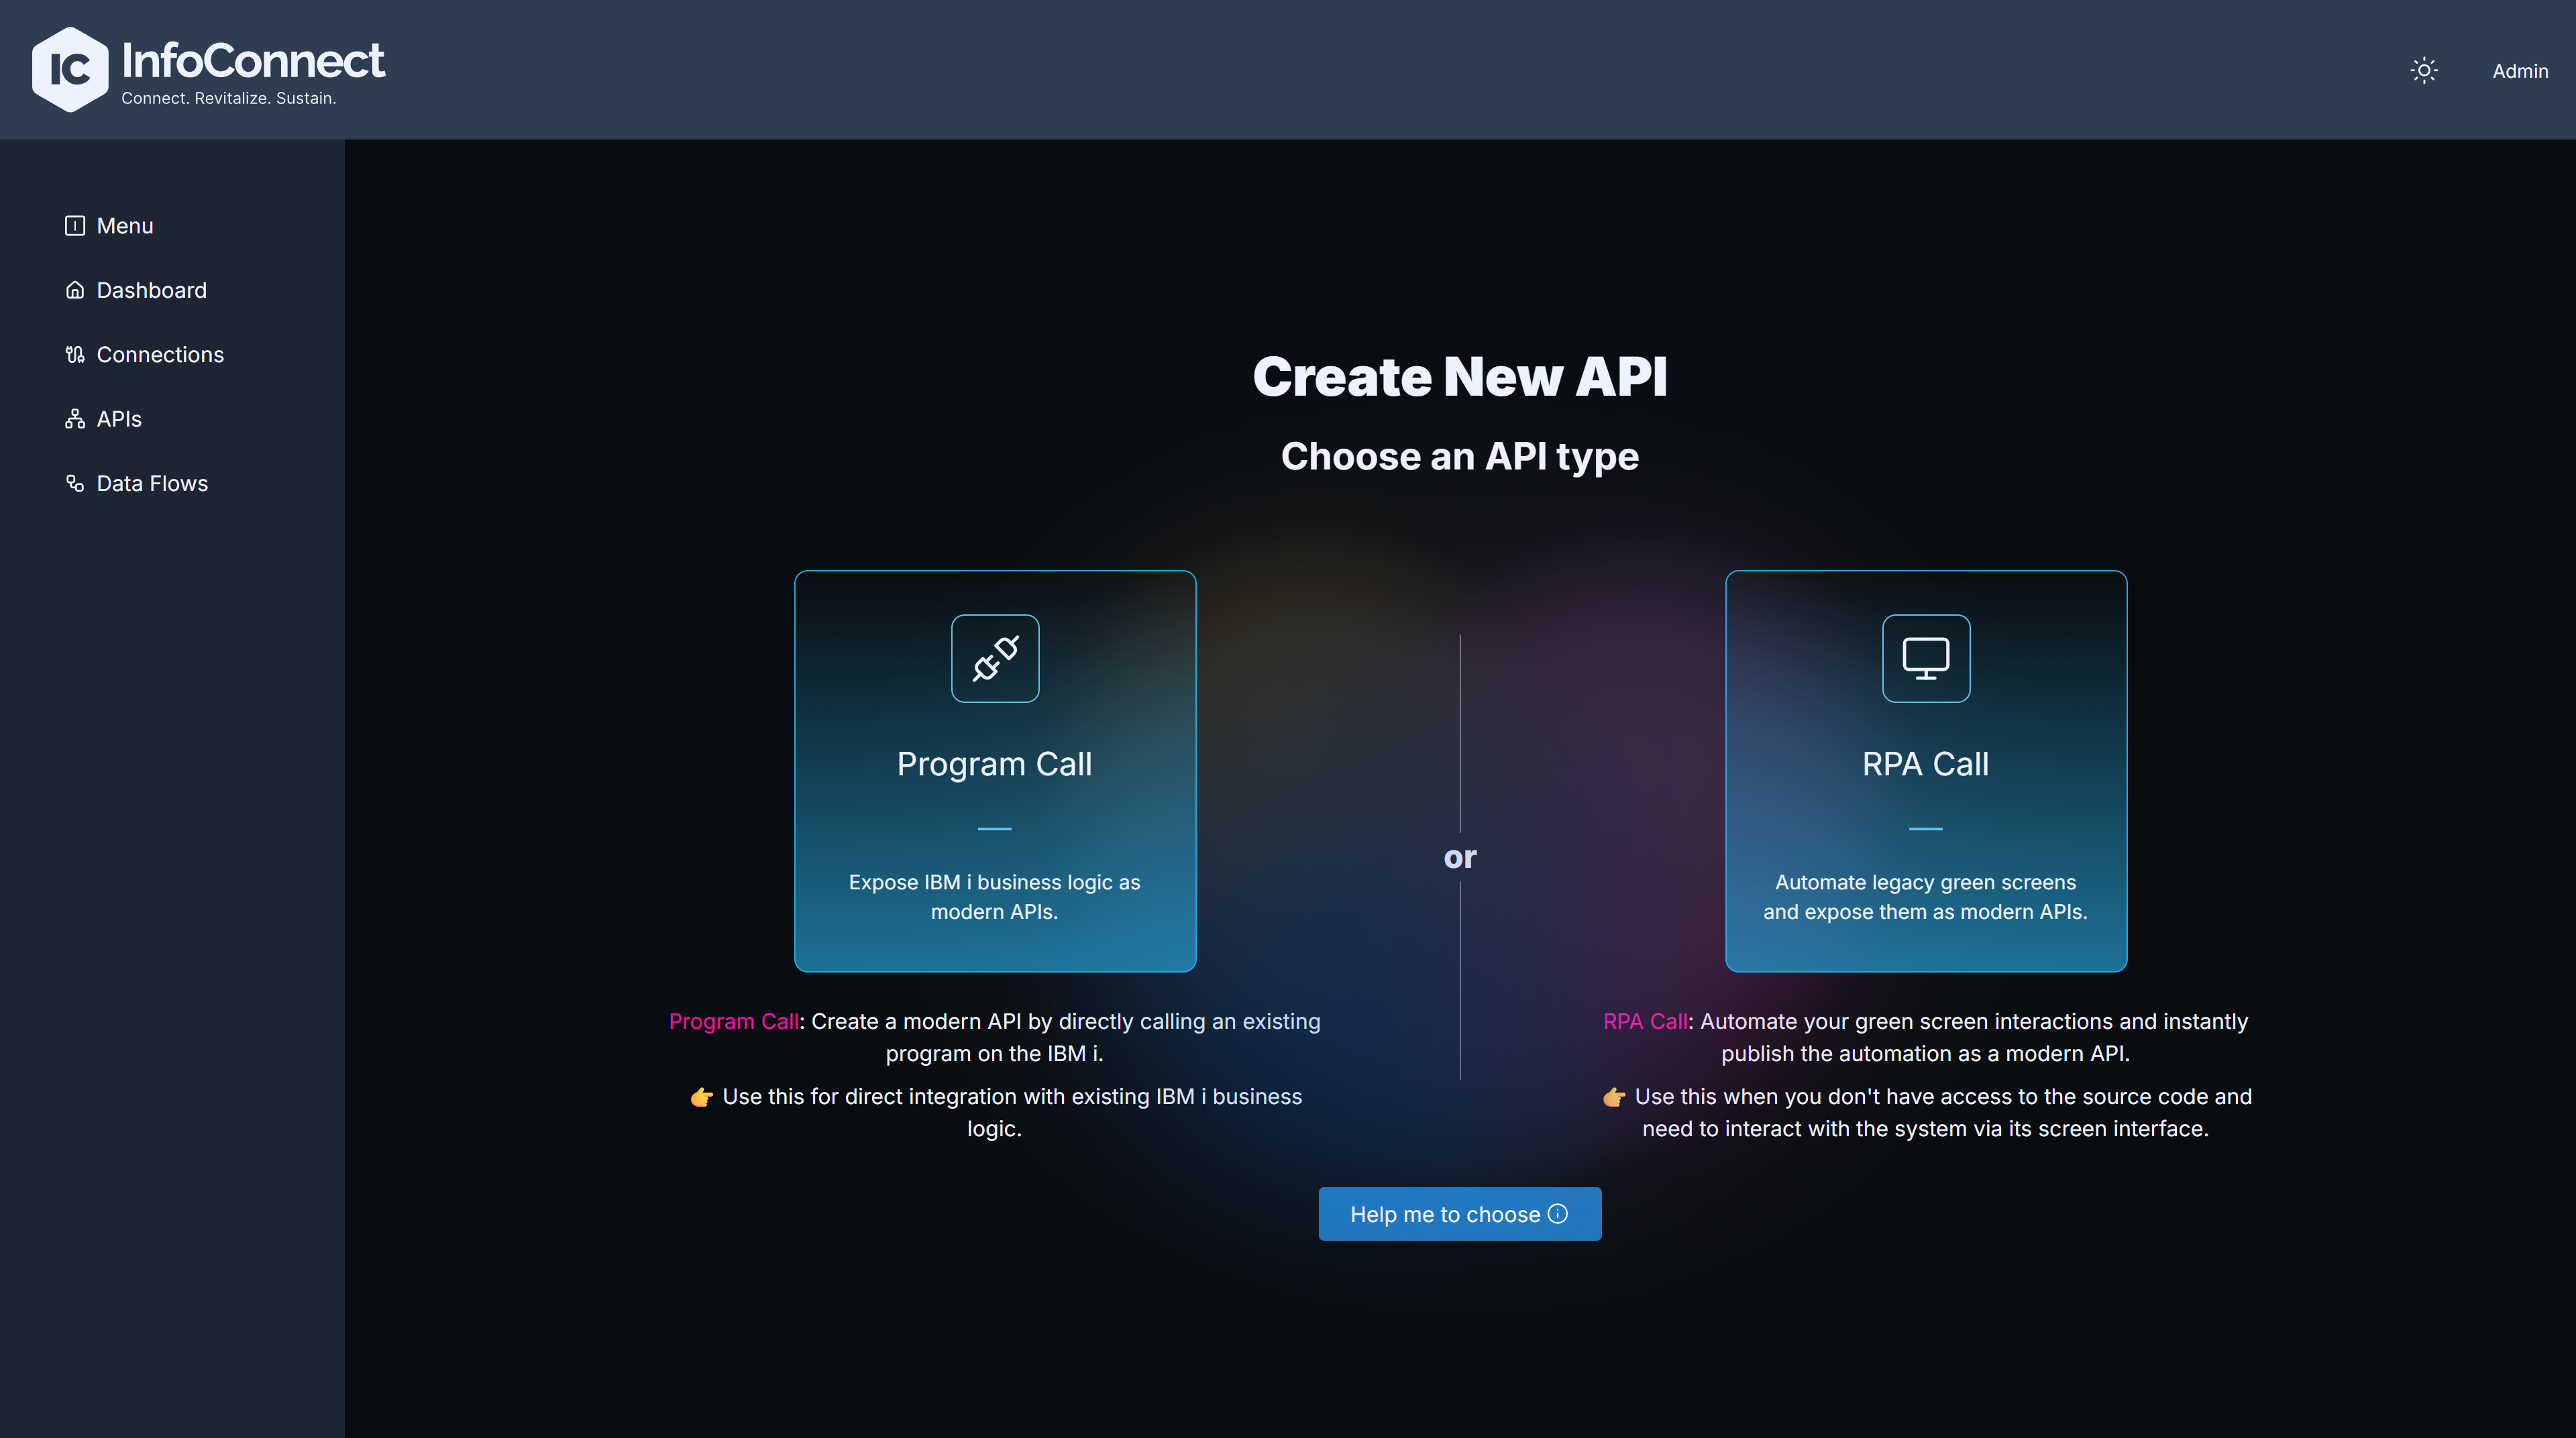
- In the navigation bar, click APIs, then click Create API.
-
Click Create Data API and select the connection from step 2.
-
Enter a Data API Definition Name, for example
getCustomers. - In SQL Statement, enter a query, for example
SELECT * FROM MYLIB.CUSTOMERS. - In URI, enter the path of the API, for example
/api/customers. - In Supported Http verbs, select
GET. - Click Submit.
The API appears in the API List. For all fields and the rules for SQL variables, see Data API and Data API Configuration Guide.
Step 4. Test the API
- In the API List, click your API.
- Click Execute Data API. If the button is disabled, the API is inactive: click Activate first, see API actions.
- Click Execute.
The Execution Result section shows the HTTP status, the response time and the response body as JSON. For other API types, see Executing APIs.
Step 5. Create a Data Flow (optional)
A Data Flow sends changes from an IBM i data queue to an external system, such as Kafka, a database or cloud storage.
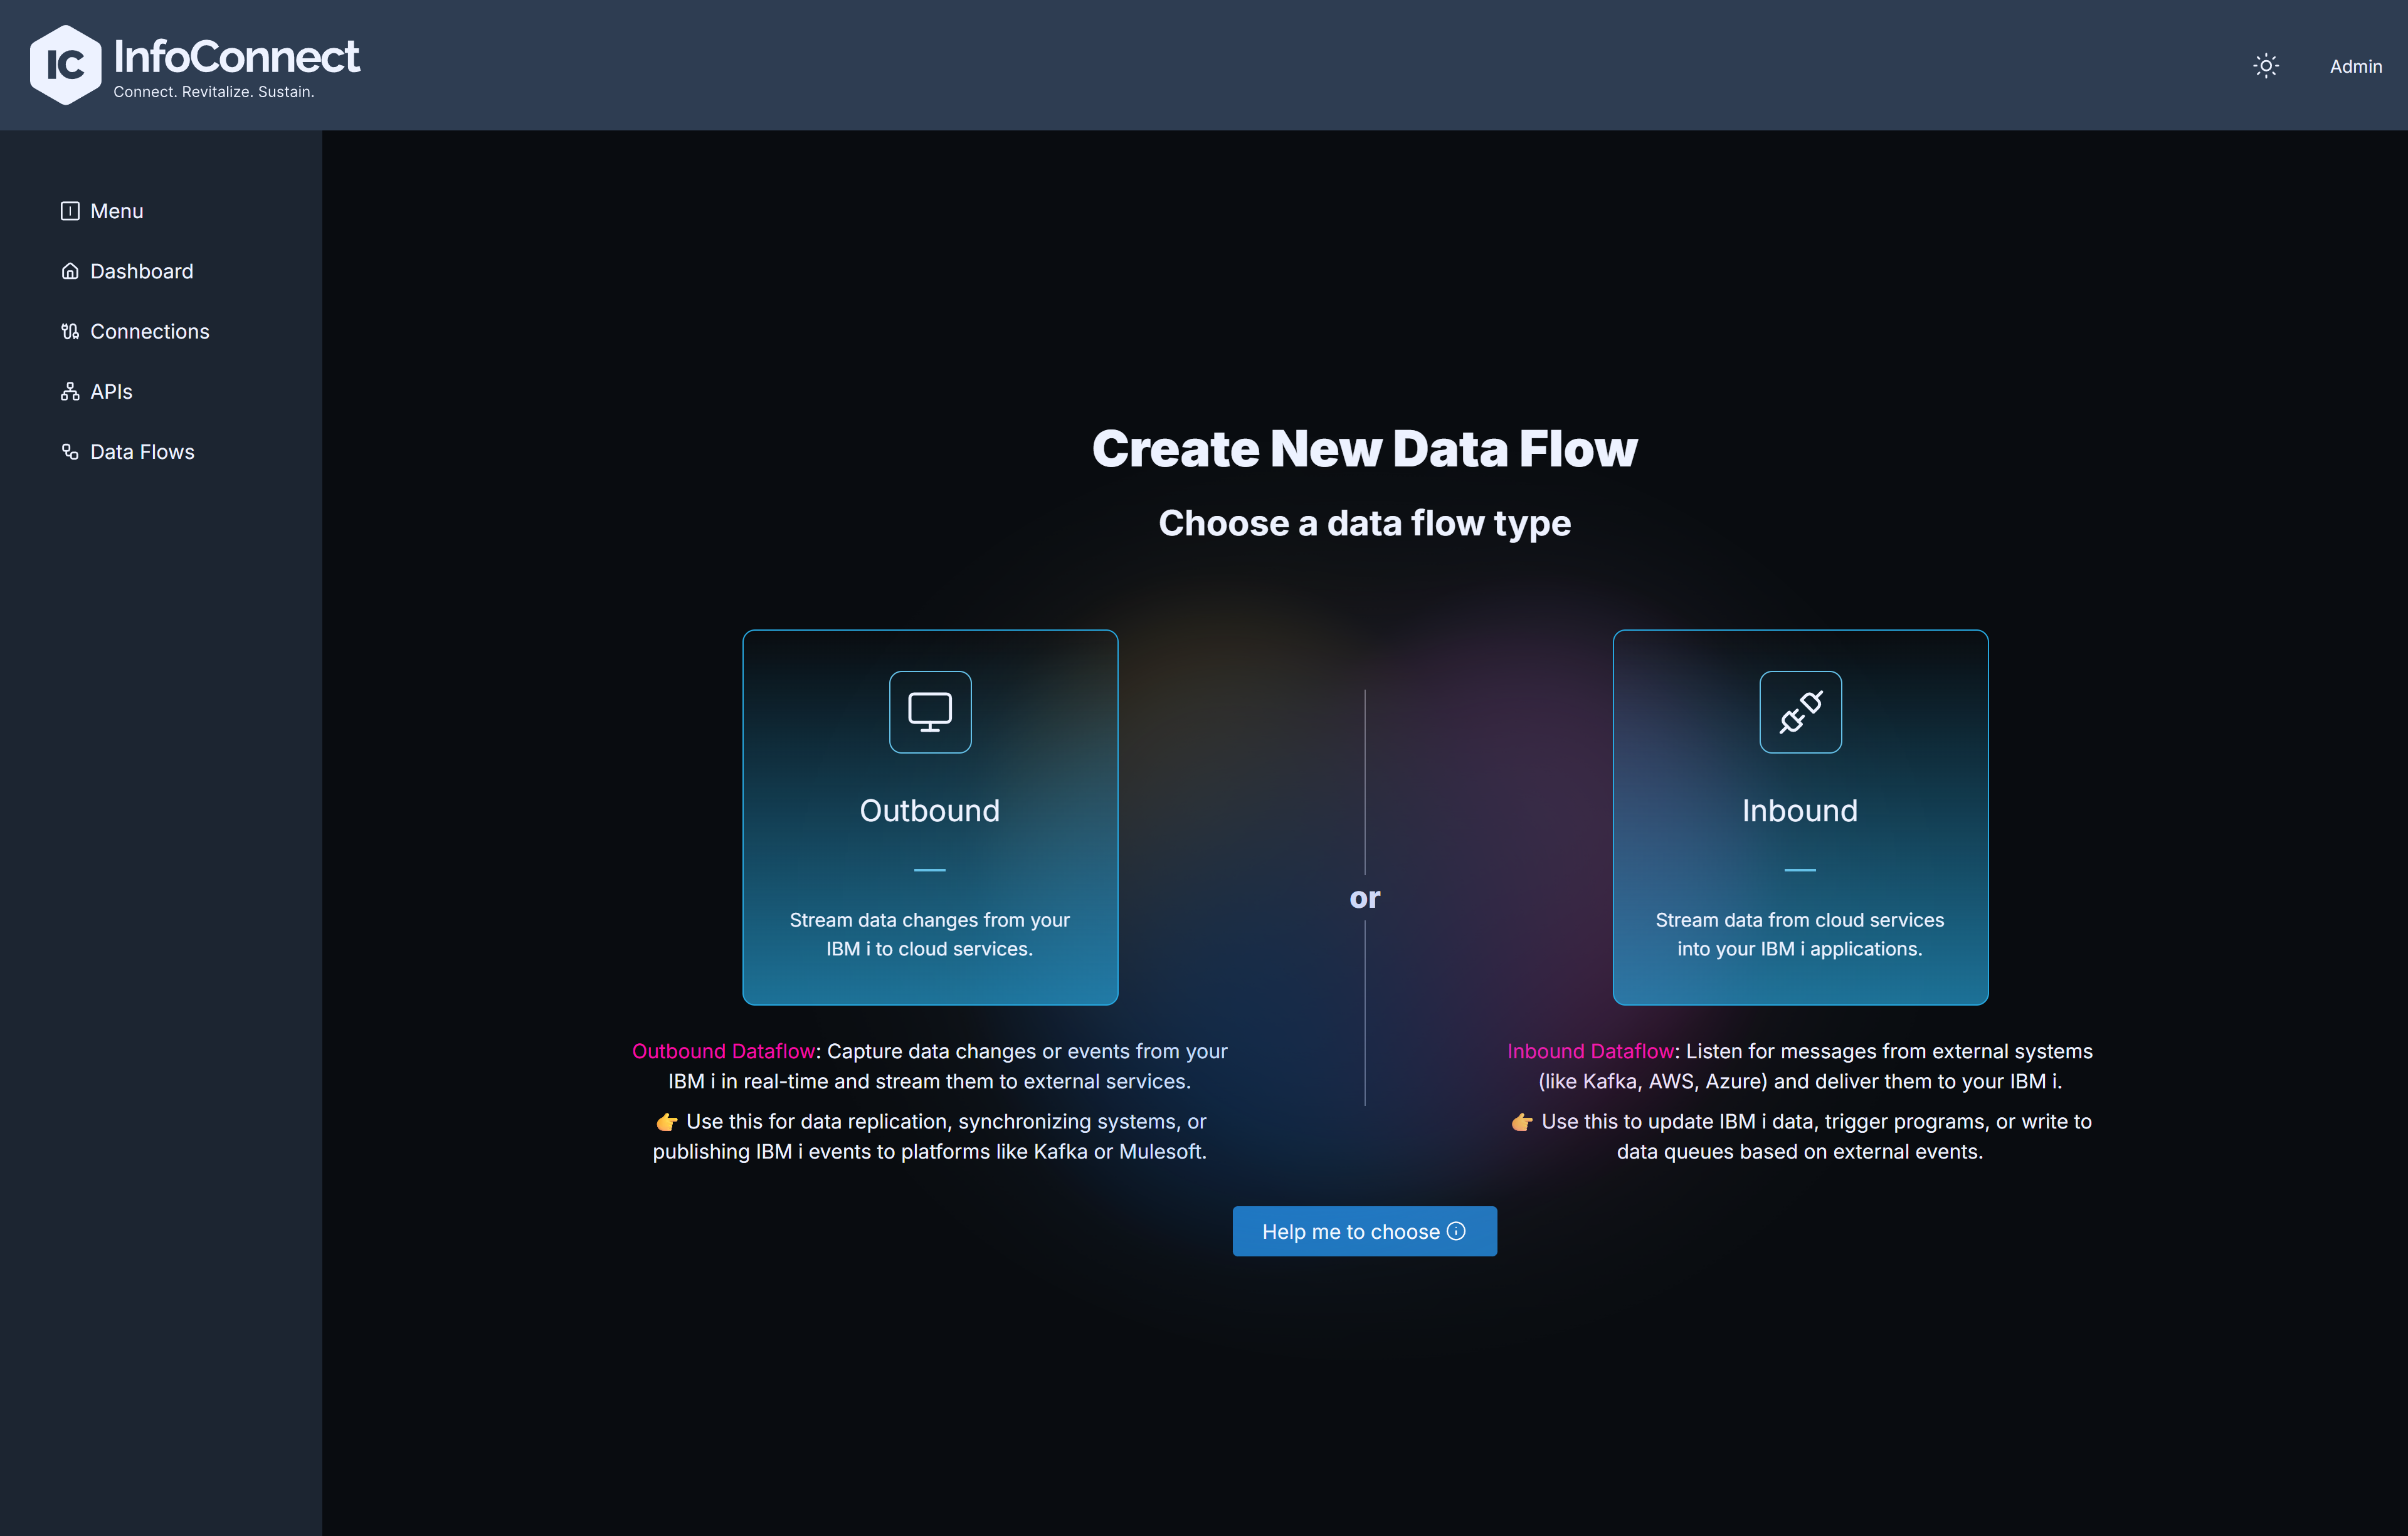
- In the navigation bar, click Data Flows, then click Create Data Flow.
-
Choose Outbound and select the connection from step 2.
-
Enter a Data Flow Name, the Source data queue name and the Library name of the data queue to monitor.
- In Sink Settings, select the Sink Type and fill in the fields for the destination.
- Click Submit. Then open the Data Flow from the Data Flows list and click Start.
For the fields and statuses, see Data Flows and Sink settings reference. If the Data Flow does not start, see Data Flow states and errors.
Next steps
- Program Call: surface an existing IBM i program as a REST API.
- RPA Call: automate a green-screen application. This needs a Screen Automation Connection, see Connections.
- Managing Hub APIs: activate, deactivate and monitor APIs.
- IBM i data replication to databases: replicate IBM i tables with InfoCDC and the Hub.